Winter Hardy Bean Chili
/
This chili uses ingredients from my garden. Add glass of milk and a cold winter day to appreciate.
Winter Hardy Bean Chili
You can make this recipe either with, or without meat. You can also top this with a variety of delicious additions.
I recently met someone who has quite an array of ingredients she offers as chili toppings, from the standard sour cream, grated cheese and crackers to shredded chocolate, peanuts and crumbled potato chips. My personal favorite was fresh diced red onions but then I love red onions on practically anything, especially the ones I grow myself out of my refrigerator crisper. It’s more like liberating those poor things that tend to sprout before I have a chance to use them in salads.
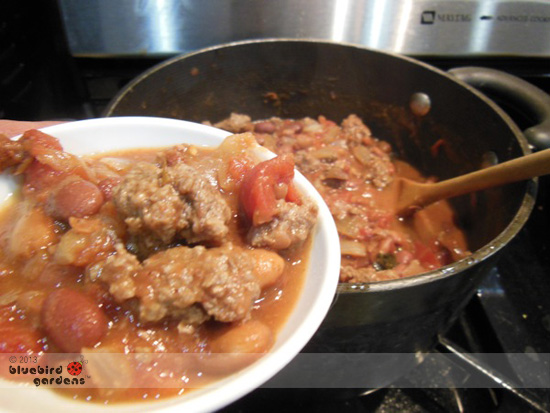
I have a lot of creative fun with my favorite chili recipe, a derivative from one a friend shared from her days in Washington D.C. Over the years, I have simplified her fancy recipe so that it is ready to eat as soon as it is made, and still flexible if you want to get creative and add other ingredients. It also can be cooked longer by adding liquid - tomato paste, red wine, more tomatoes. For example, if you first saute garlic with onions and green peppers, this will be sweeter. If you put the garlic in with the tomatoes and beans, it will be more salty.
If you should be invaded by a herd of teenagers, or want to just make it with beans, add an extra can of beans to extend the recipe with a dash of extra seasonings. I once only had extra canned tomatoes and added those and that made this into a delicious thick soup. As I said earlier, very versatile.
This makes 6-8 half cup servings if you’re not adding more to it:
Charlotte’s Chili Recipe
1 cut up medium yellow onion
1 cut up medium green pepper
2-4 cloves of garlic to taste
1-2 tbsp extra virgin olive oil
1/2 lbs ground chuck
1 can red pinto beans
12 oz defrosted or canned tomatoes, or 1 can stewed tomatoes
1 tsp chili powder
1/2 tsp salt
Mix red pinto beans and tomatoes in a pot with chili powder; set aside.
Cook onions in extra virgin olive oil until clear; add green peppers, garlic and ground chuck. Cook on low until brown. Strain to remove extra grease. I use a colander inside a mixing bowl and let it drain. Mix with beans and tomatoes until warm. Add salt to taste.
Serve as is or add a few saltine crackers or a handful of oyster crackers. Wait until it cools to dig in.
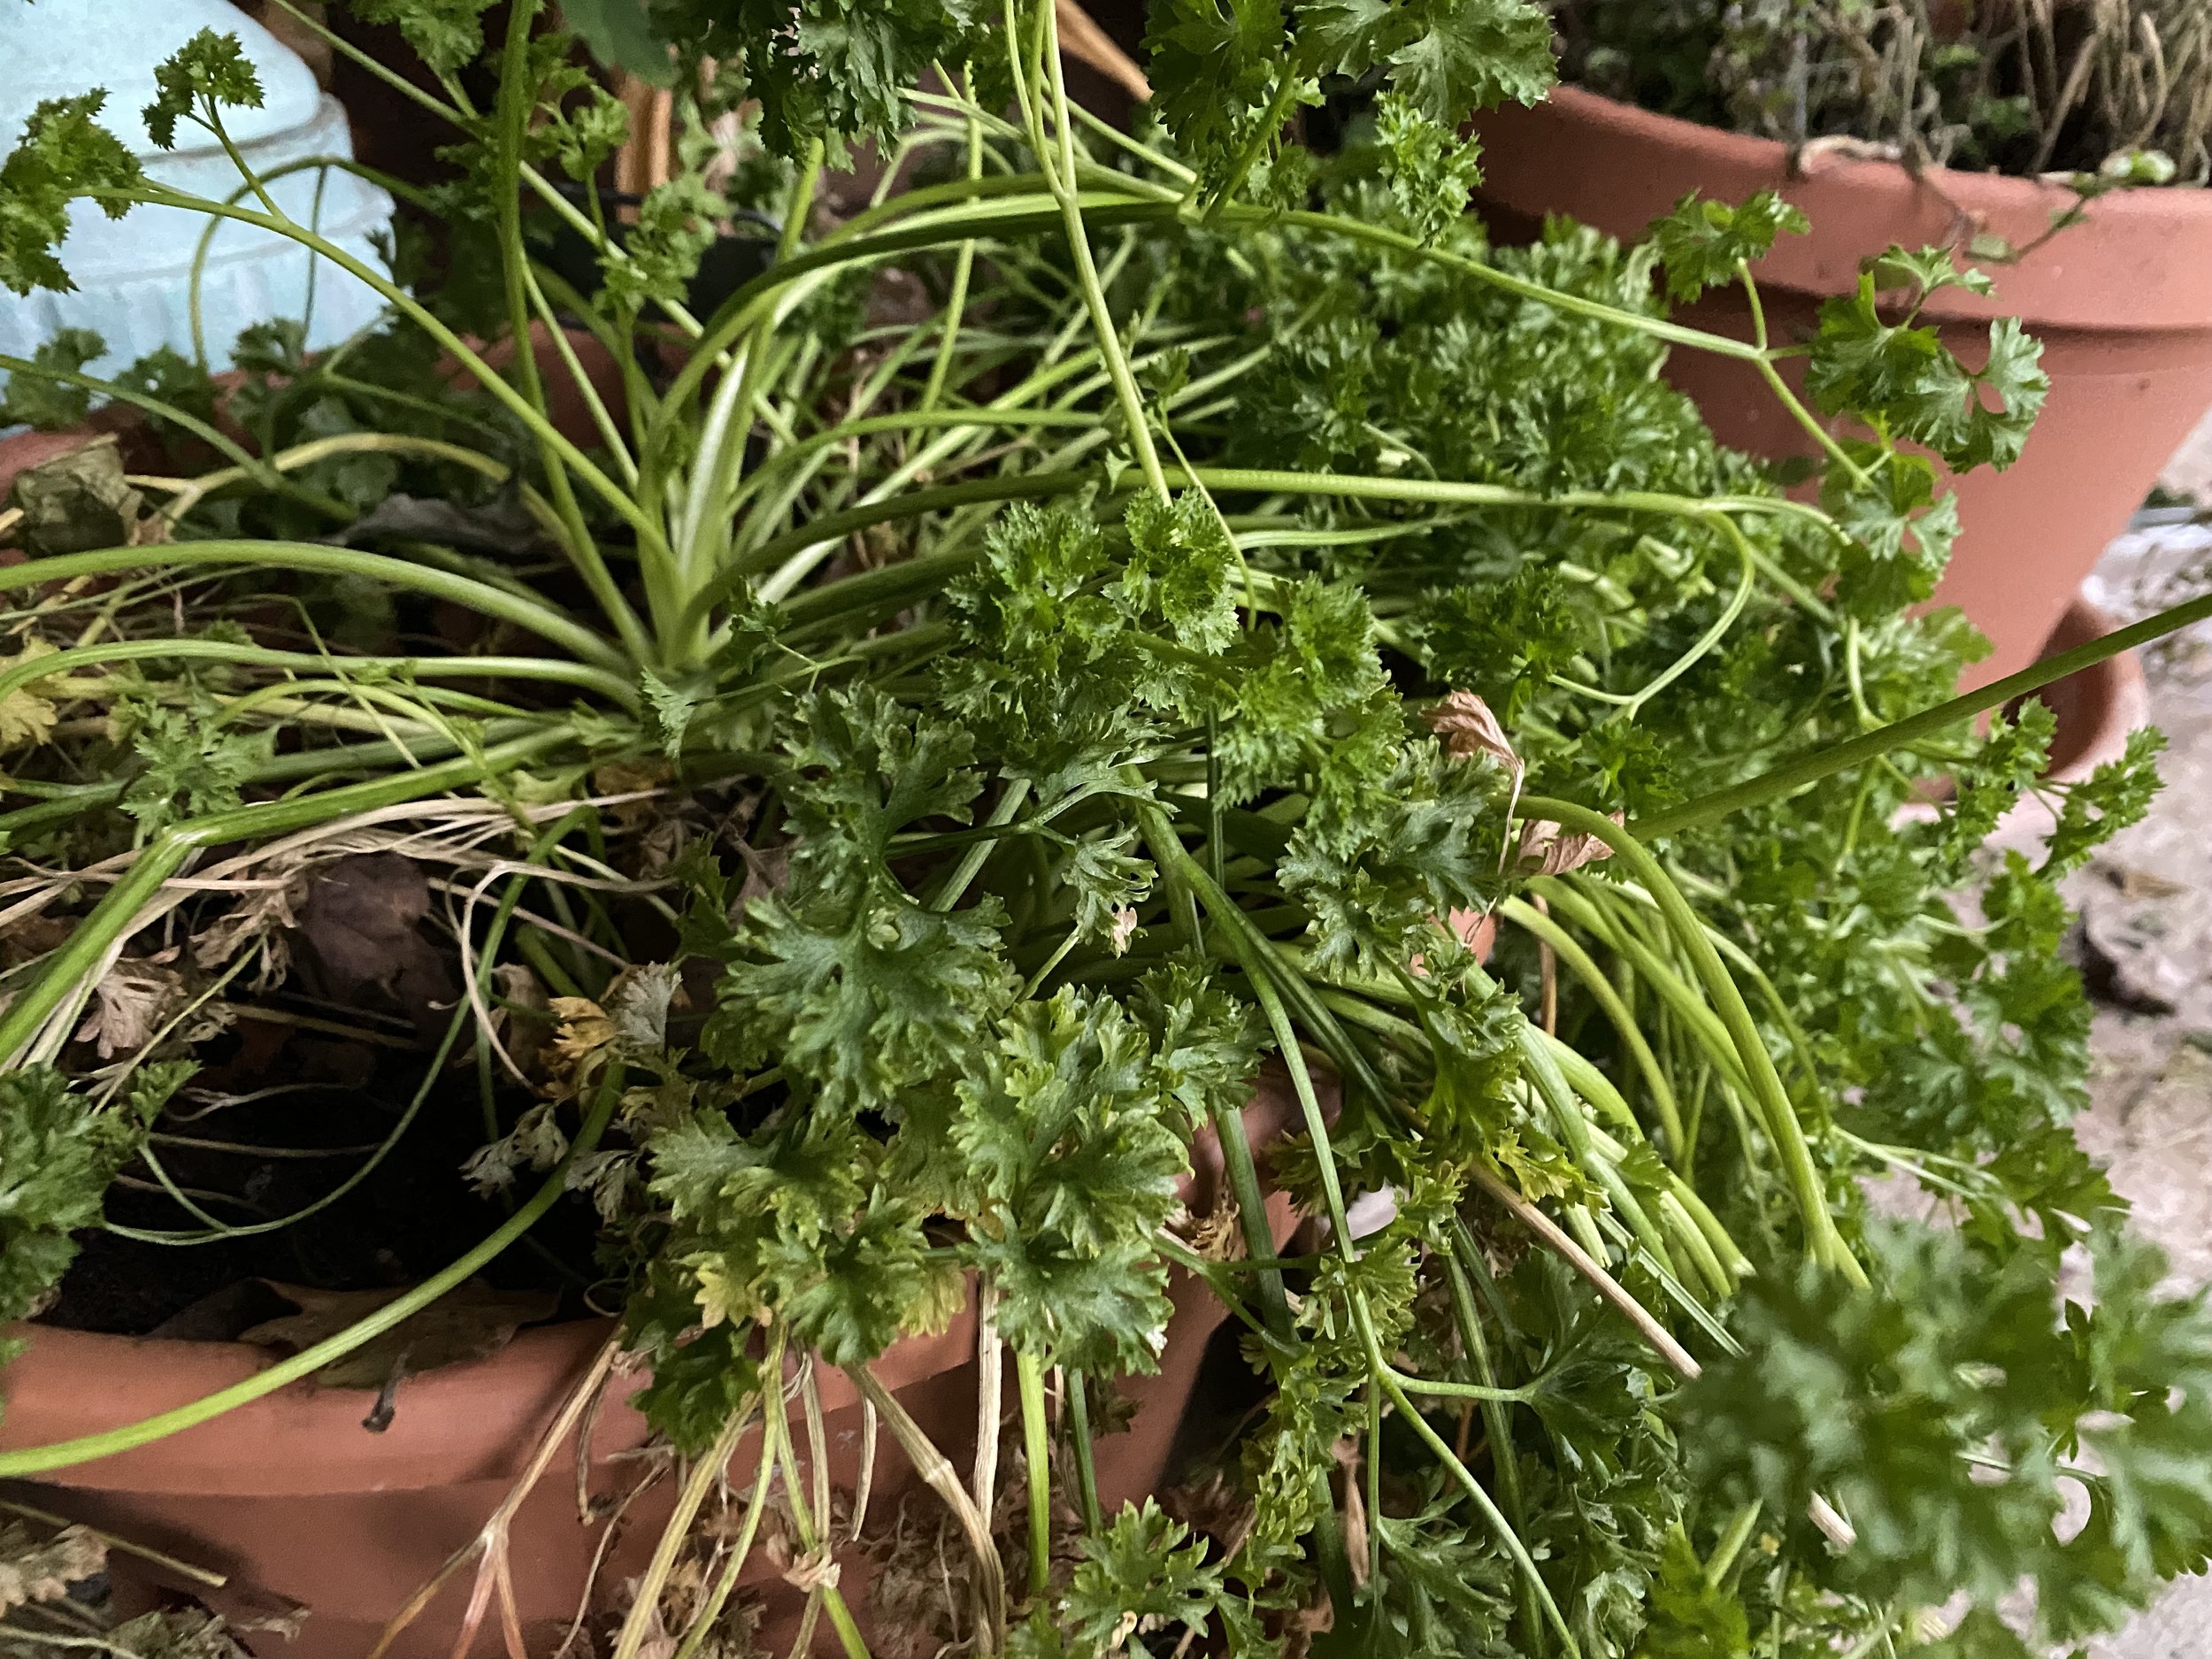
This is the fourth winter for this pot of parsley to winter over inside. (Photo by Charlotte Ekker Wiggins)
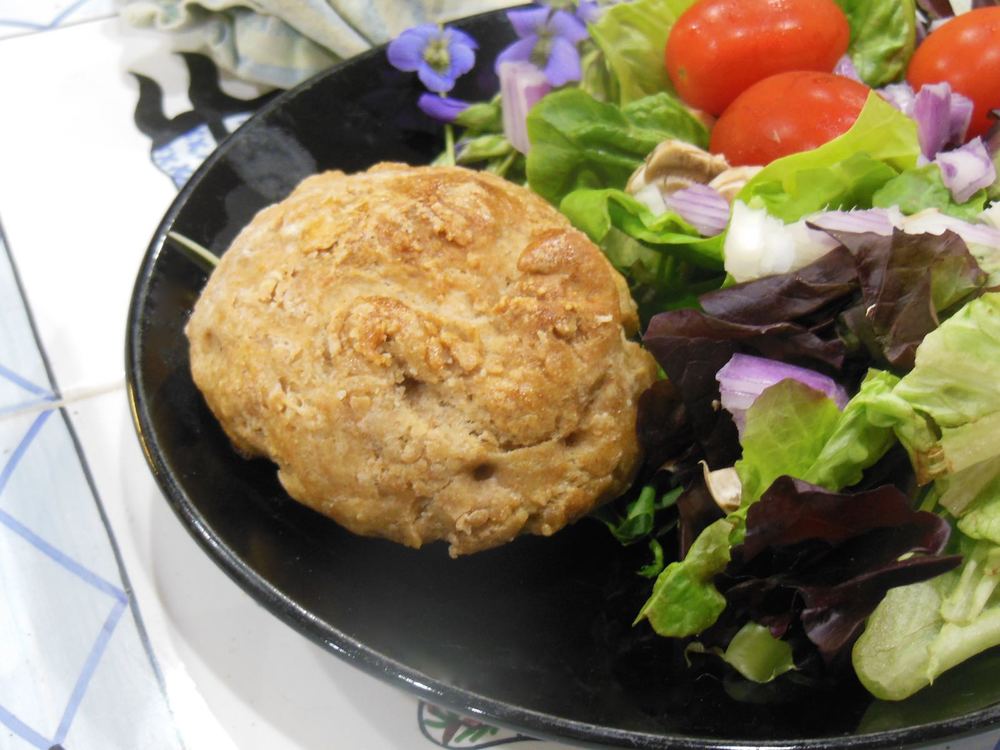
I also get a kick out of harvesting fresh parsley to add as both a garnish and breath freshener when I’m finished with the meal. I have had this pot off parsley for four years now, wintering it over inside. Nothing quite like some fresh herbs to brighten up a plate.
Enjoy!