Red Berries Jam Recipe

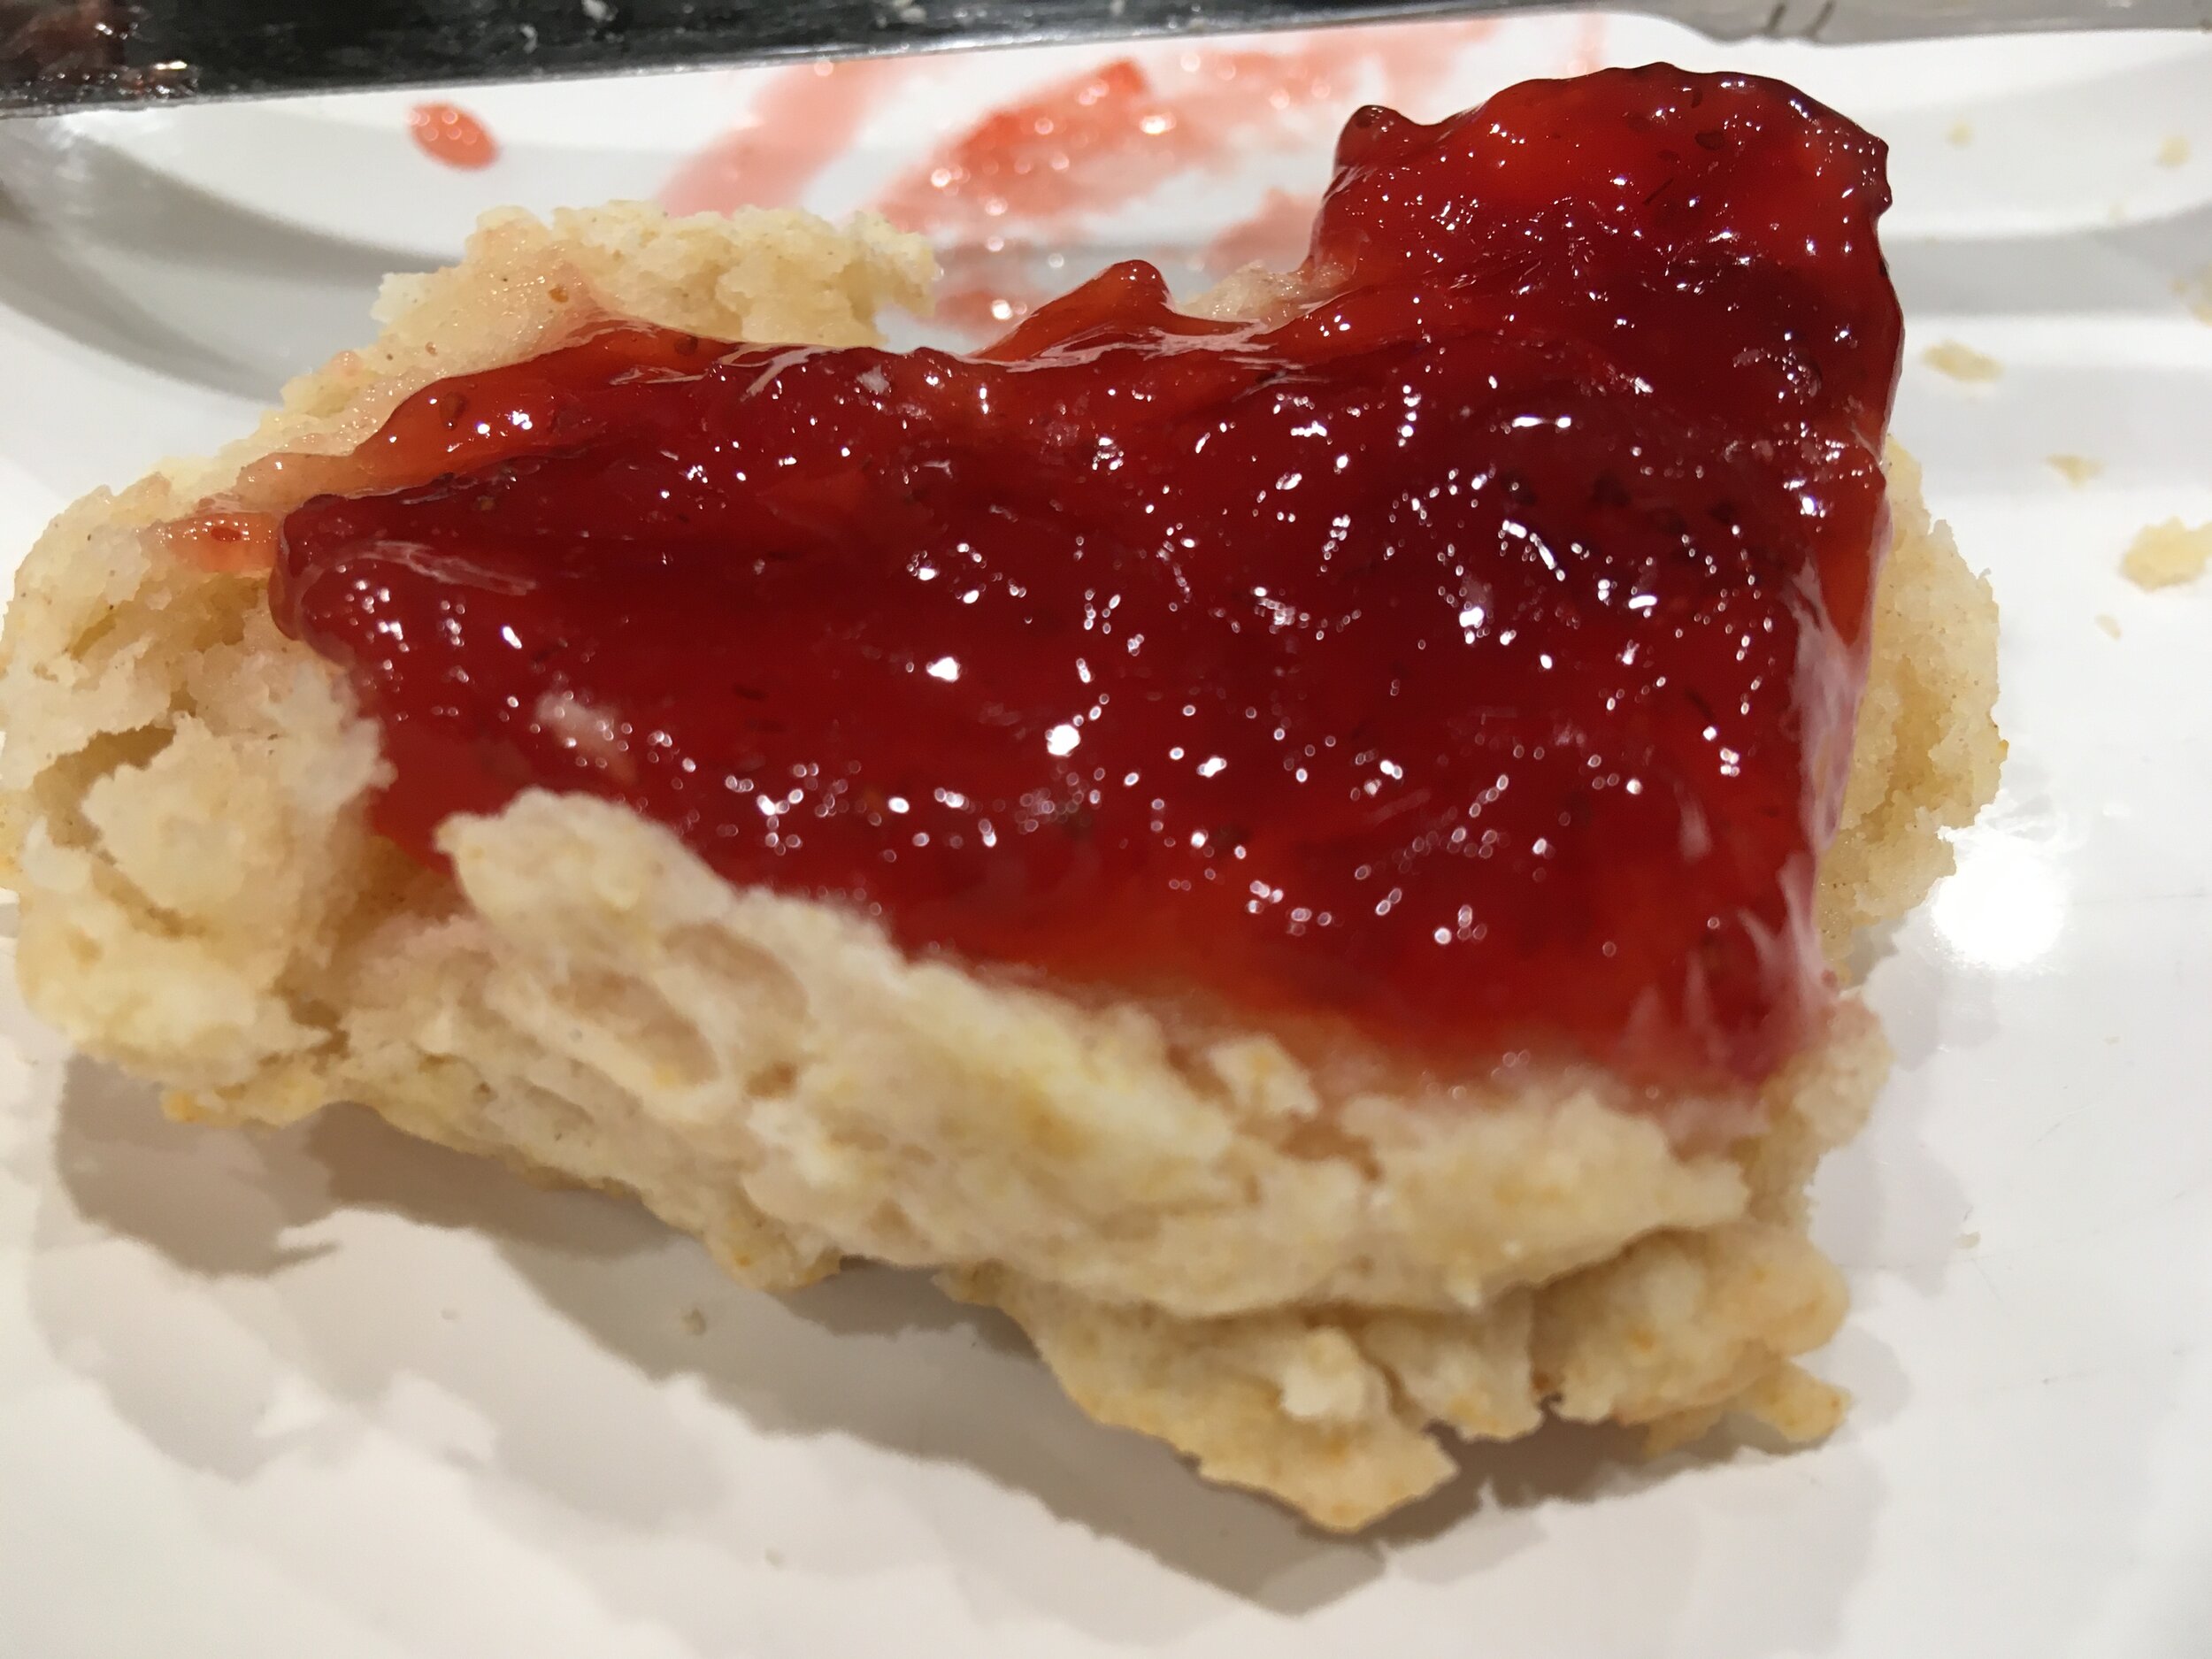
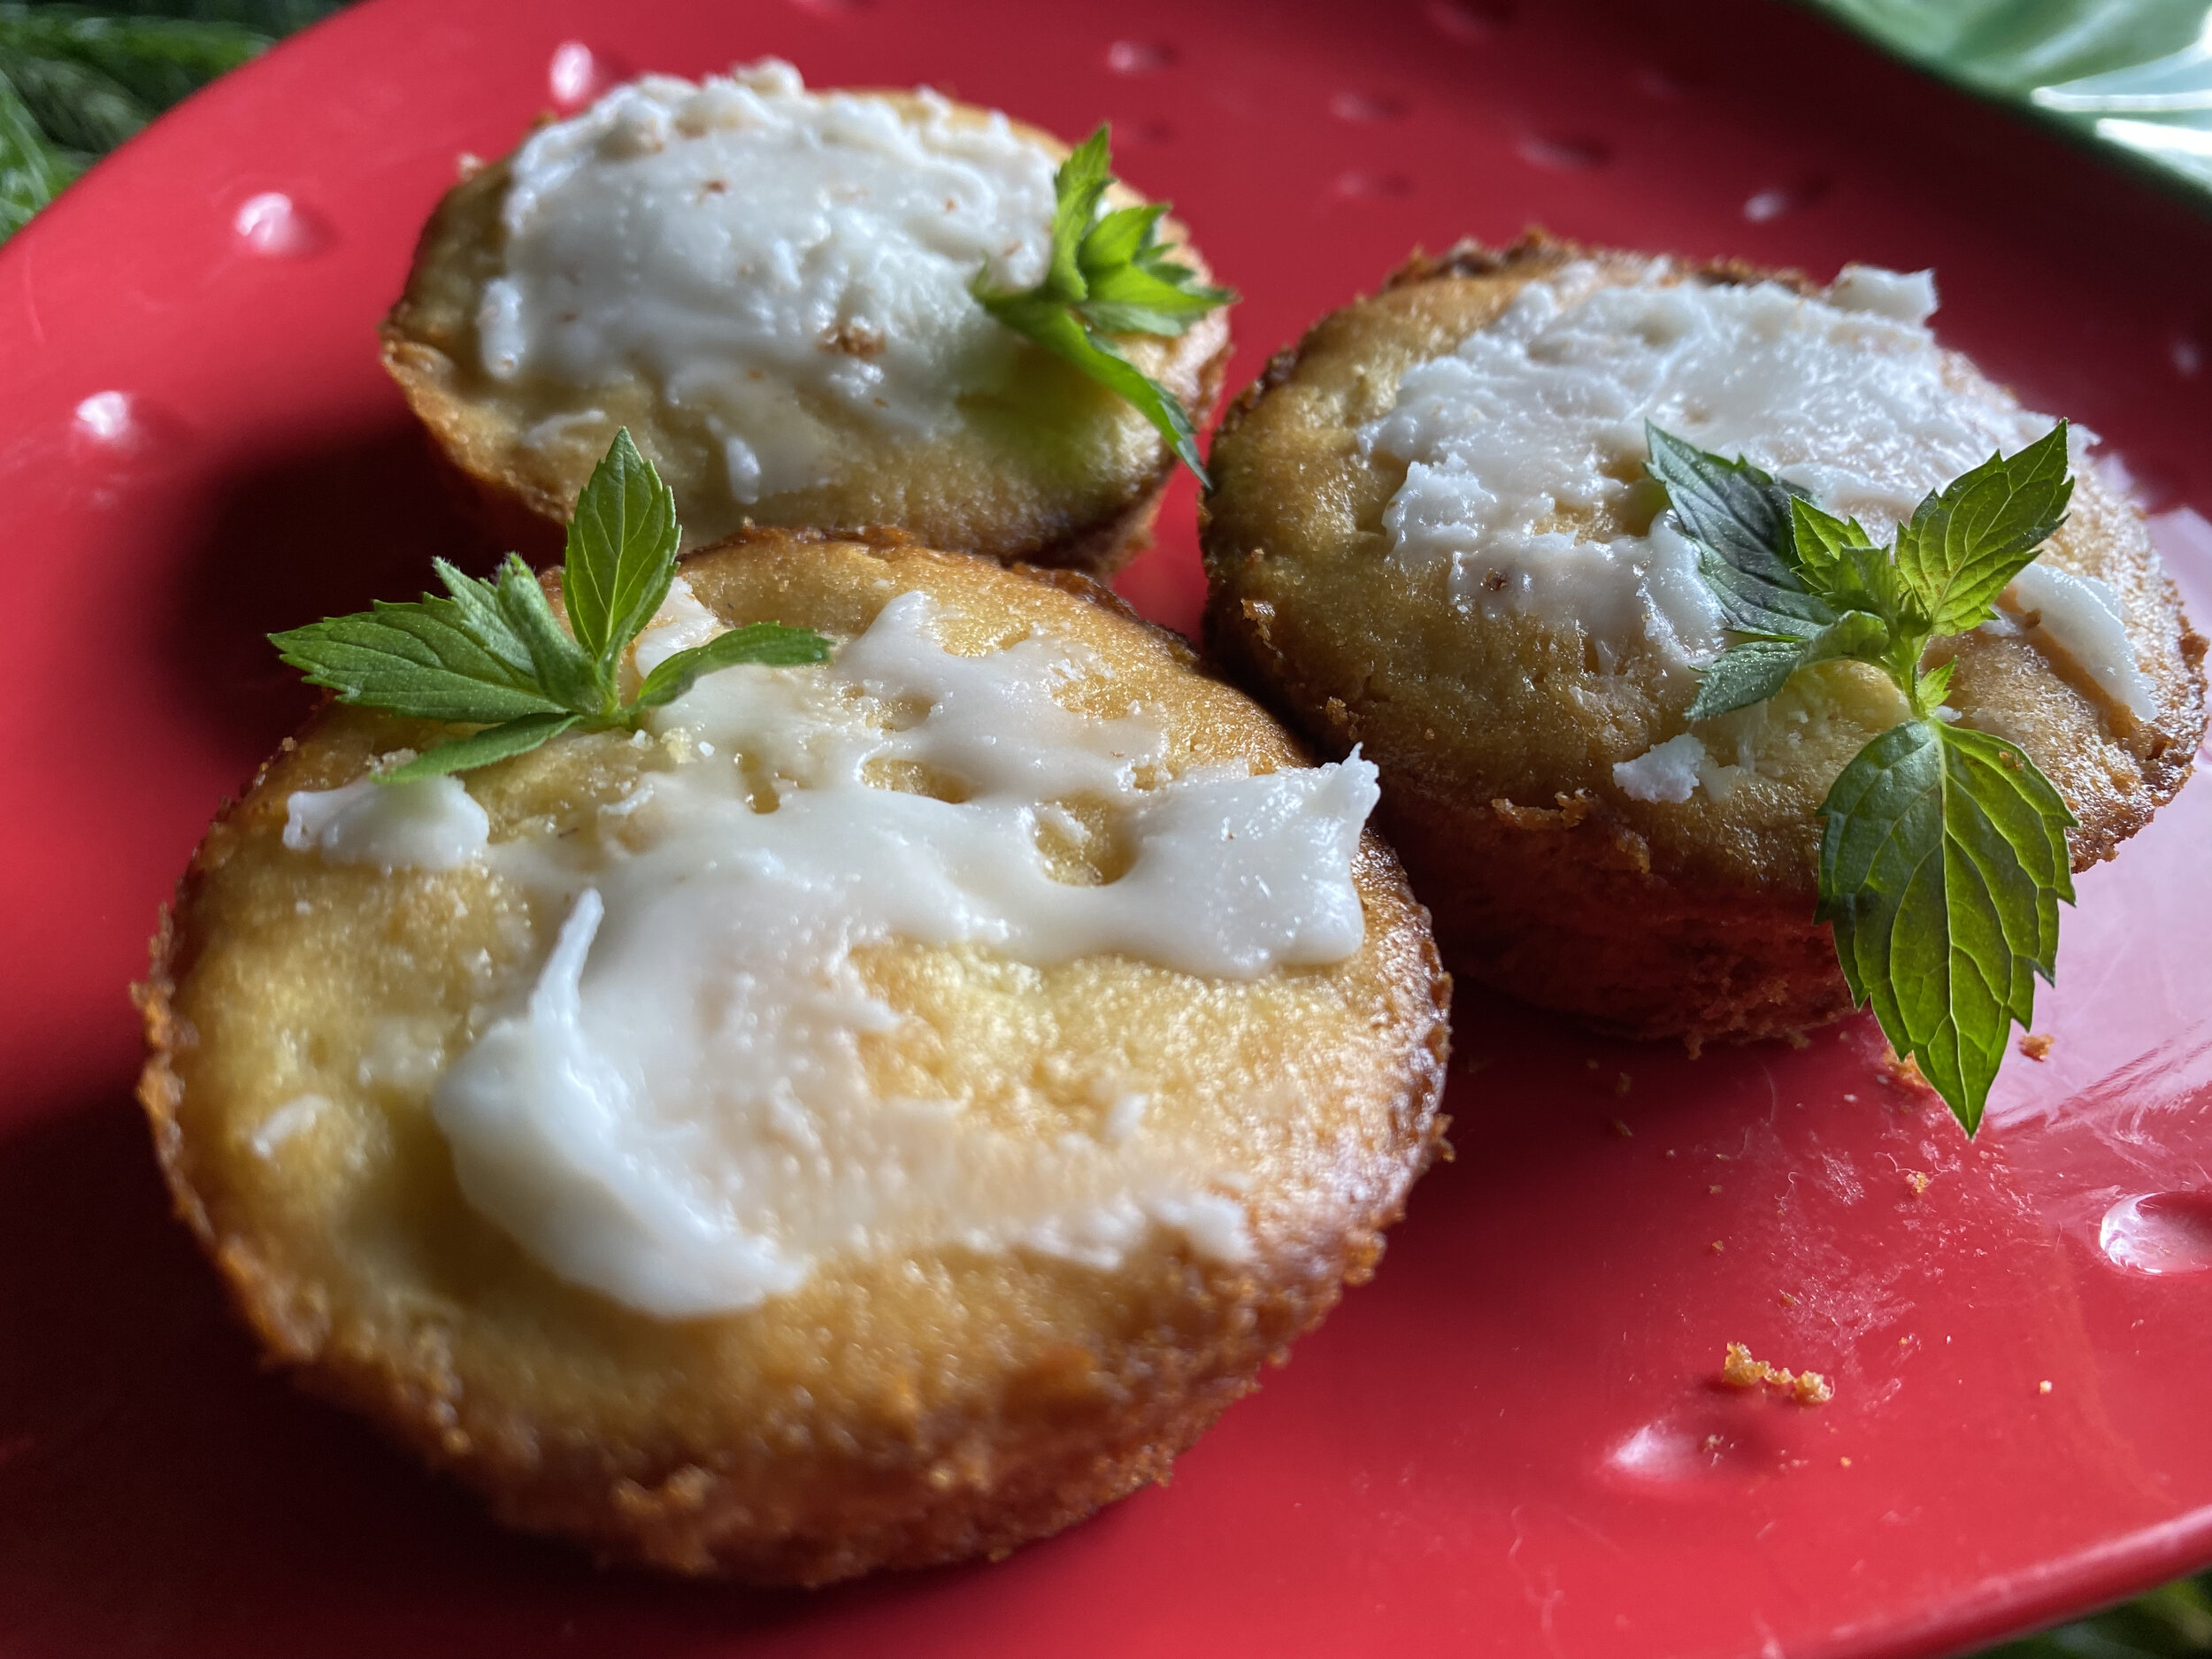
Red berry jam from a customer on my two-ingredient biscuits. (Charlotte Ekker Wiggins Photo)

Red Berries Jam

I have been on the hunt for this recipe ever since one of my customers shared two small jars with me. She called it “Harlequin jam,” made out of five red berries. That was the clue I needed!

Turns out this recipe is simple and a handy option to use up those fresh berries heading to the downside of their freshness. What I found interesting was the fruits have a natural pectin so no need to add some.

And speaking of fresh berries, I have been keeping them in glass jars in my refrigerator instead of those plastic clam shells. Keeps the berries fresher longer!

Red Berries Jam Recipe

You will need:

  • 6 cups berries such as strawberries, raspberries, blackberries and blueberries (roughly slice the strawberries to help them break down)

  • 2 cups sugar

  • 2 tablespoons bottle lemon juice

    To make:

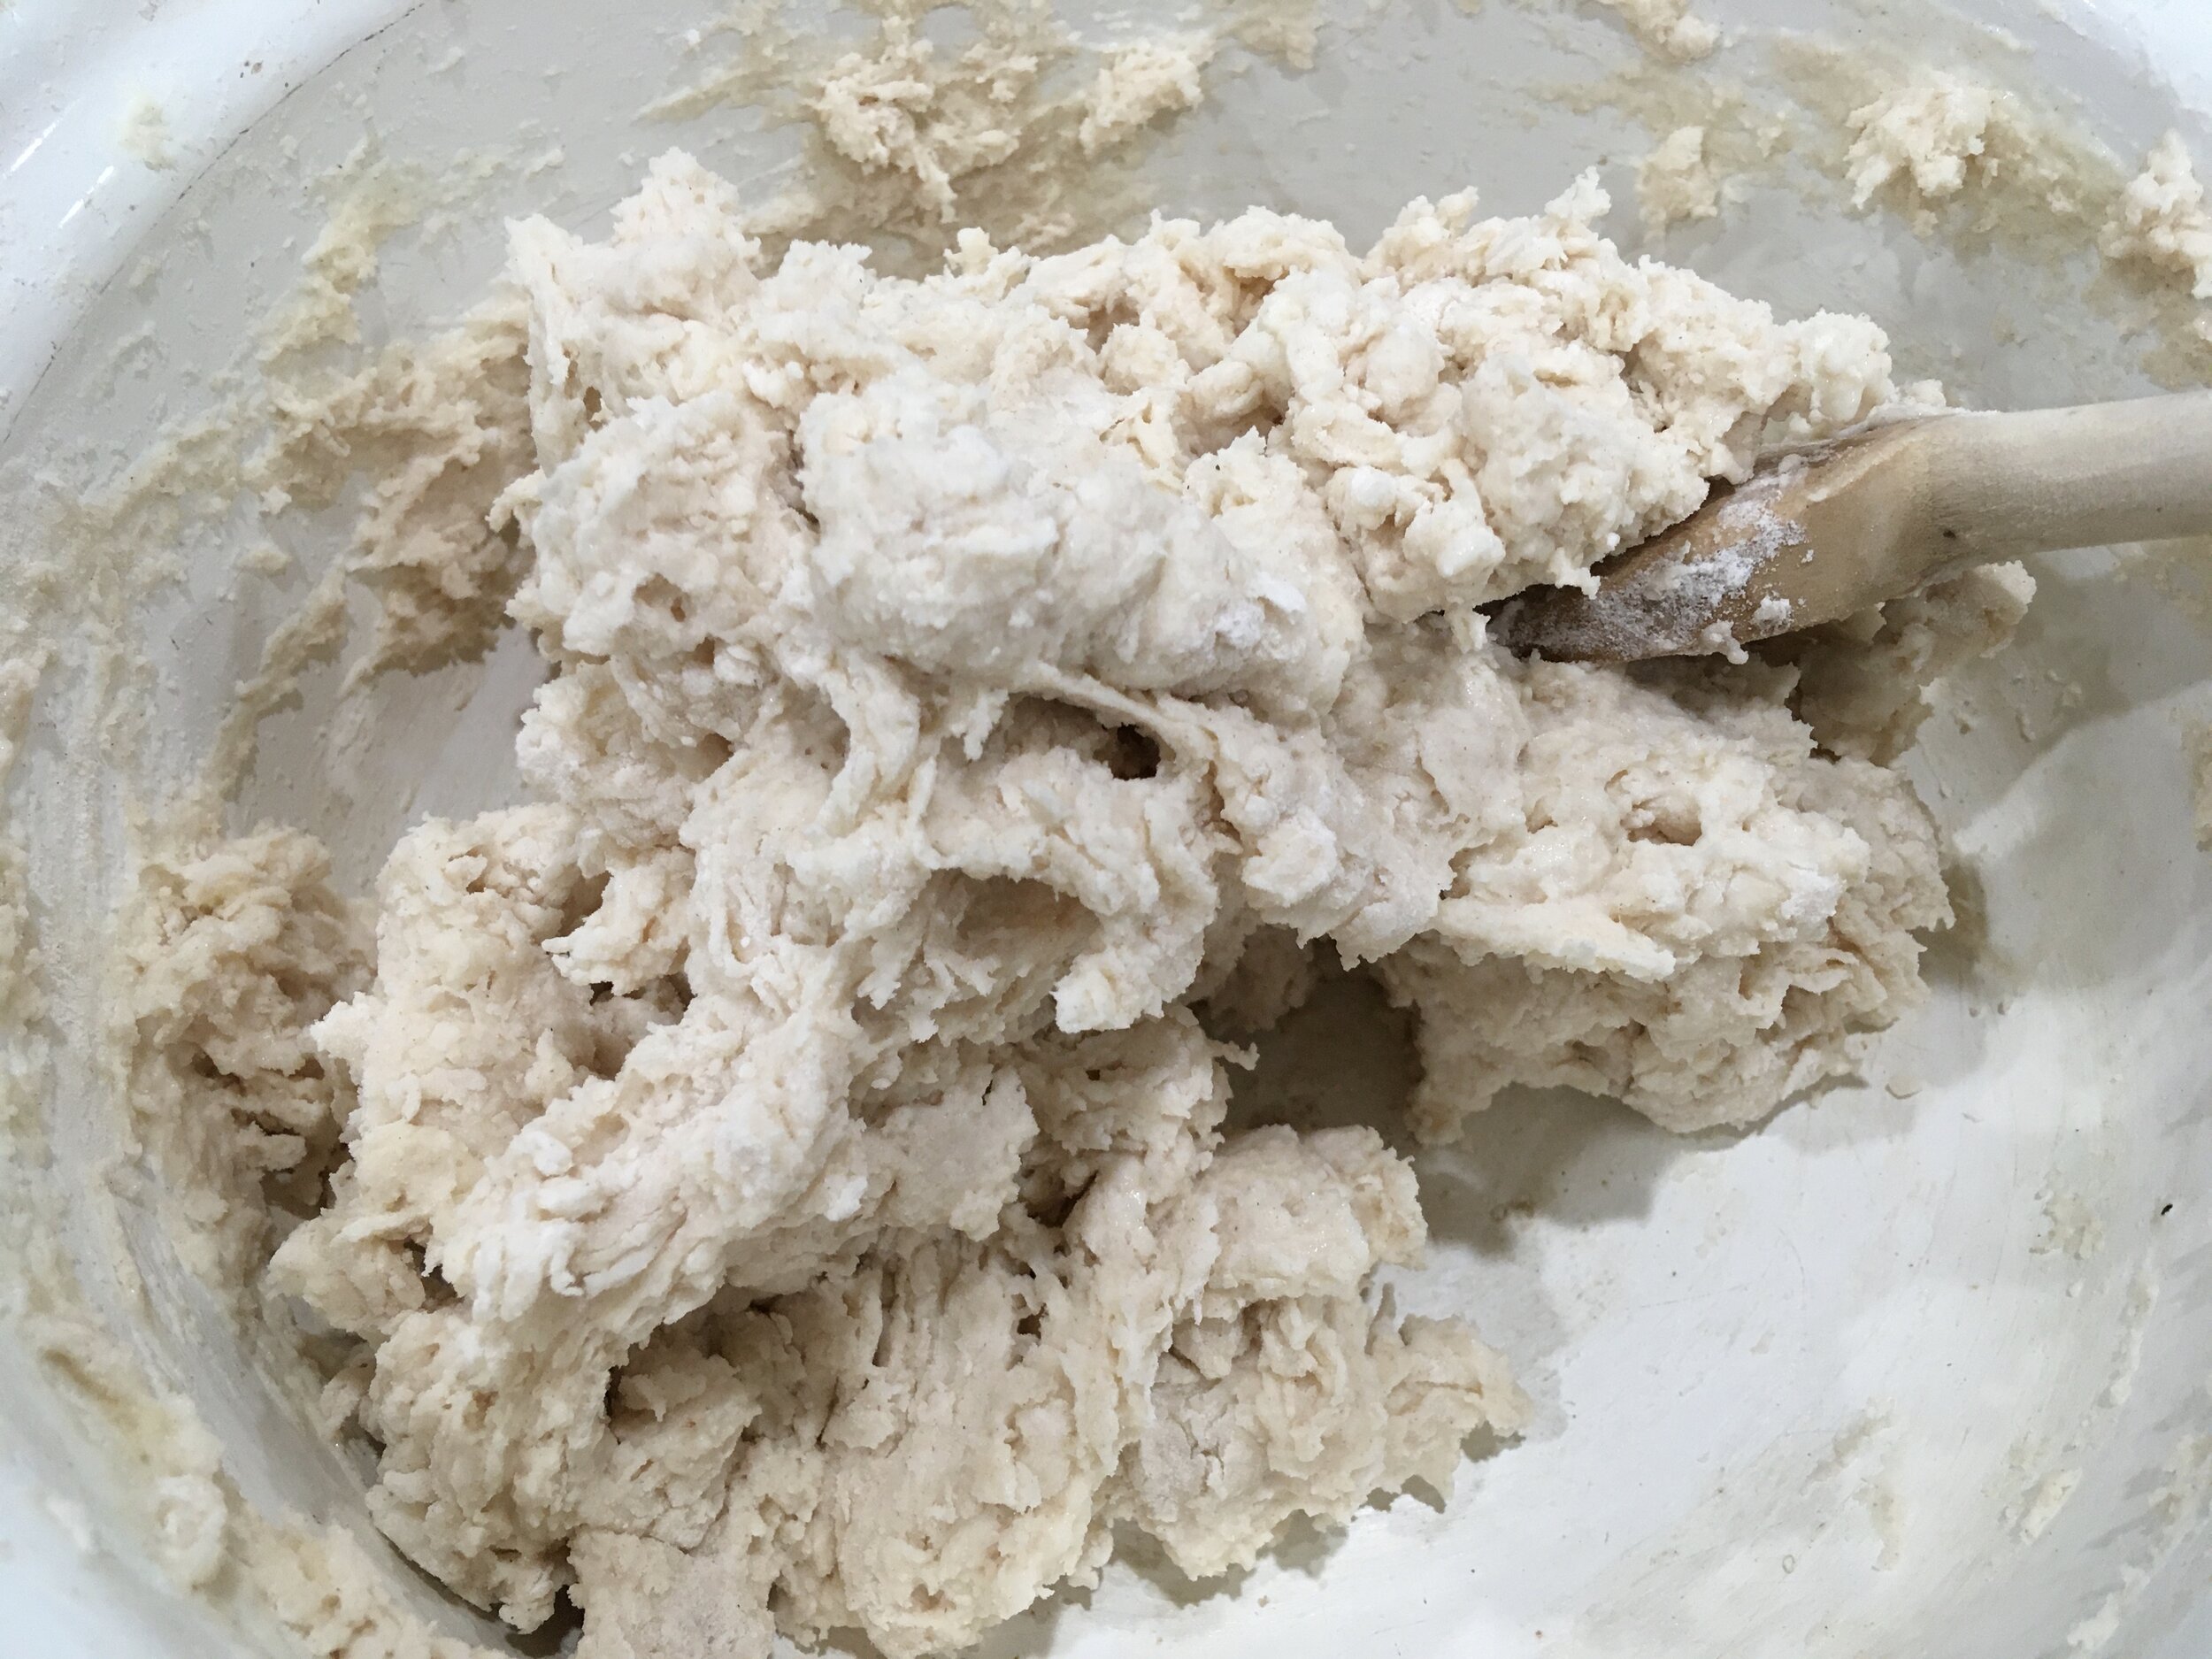
    • In a large saucepan, add the berries, sugar and lemon juice. Gently stir the berry mixture and bring to a boil over medium-high heat.

    • Reduce to a soft boil on medium heat and cook, uncovered, stirring frequently, for about 20 minutes or until the jam has thickened.

    • To test the thickness of the jam, at the start of cooking time place a few spoons or ceramic ramekins in the freezer for 10 minutes. Take out one spoon or ramekin and add a dollop of jam to the back of the spoon or ramekin. If it mostly sets, you're ready to go.

    • If it's too runny, cook and tests in 5 minute increments until the jam sets on the spoon. If the jam is not set, continue to cook for 5 minute increments.

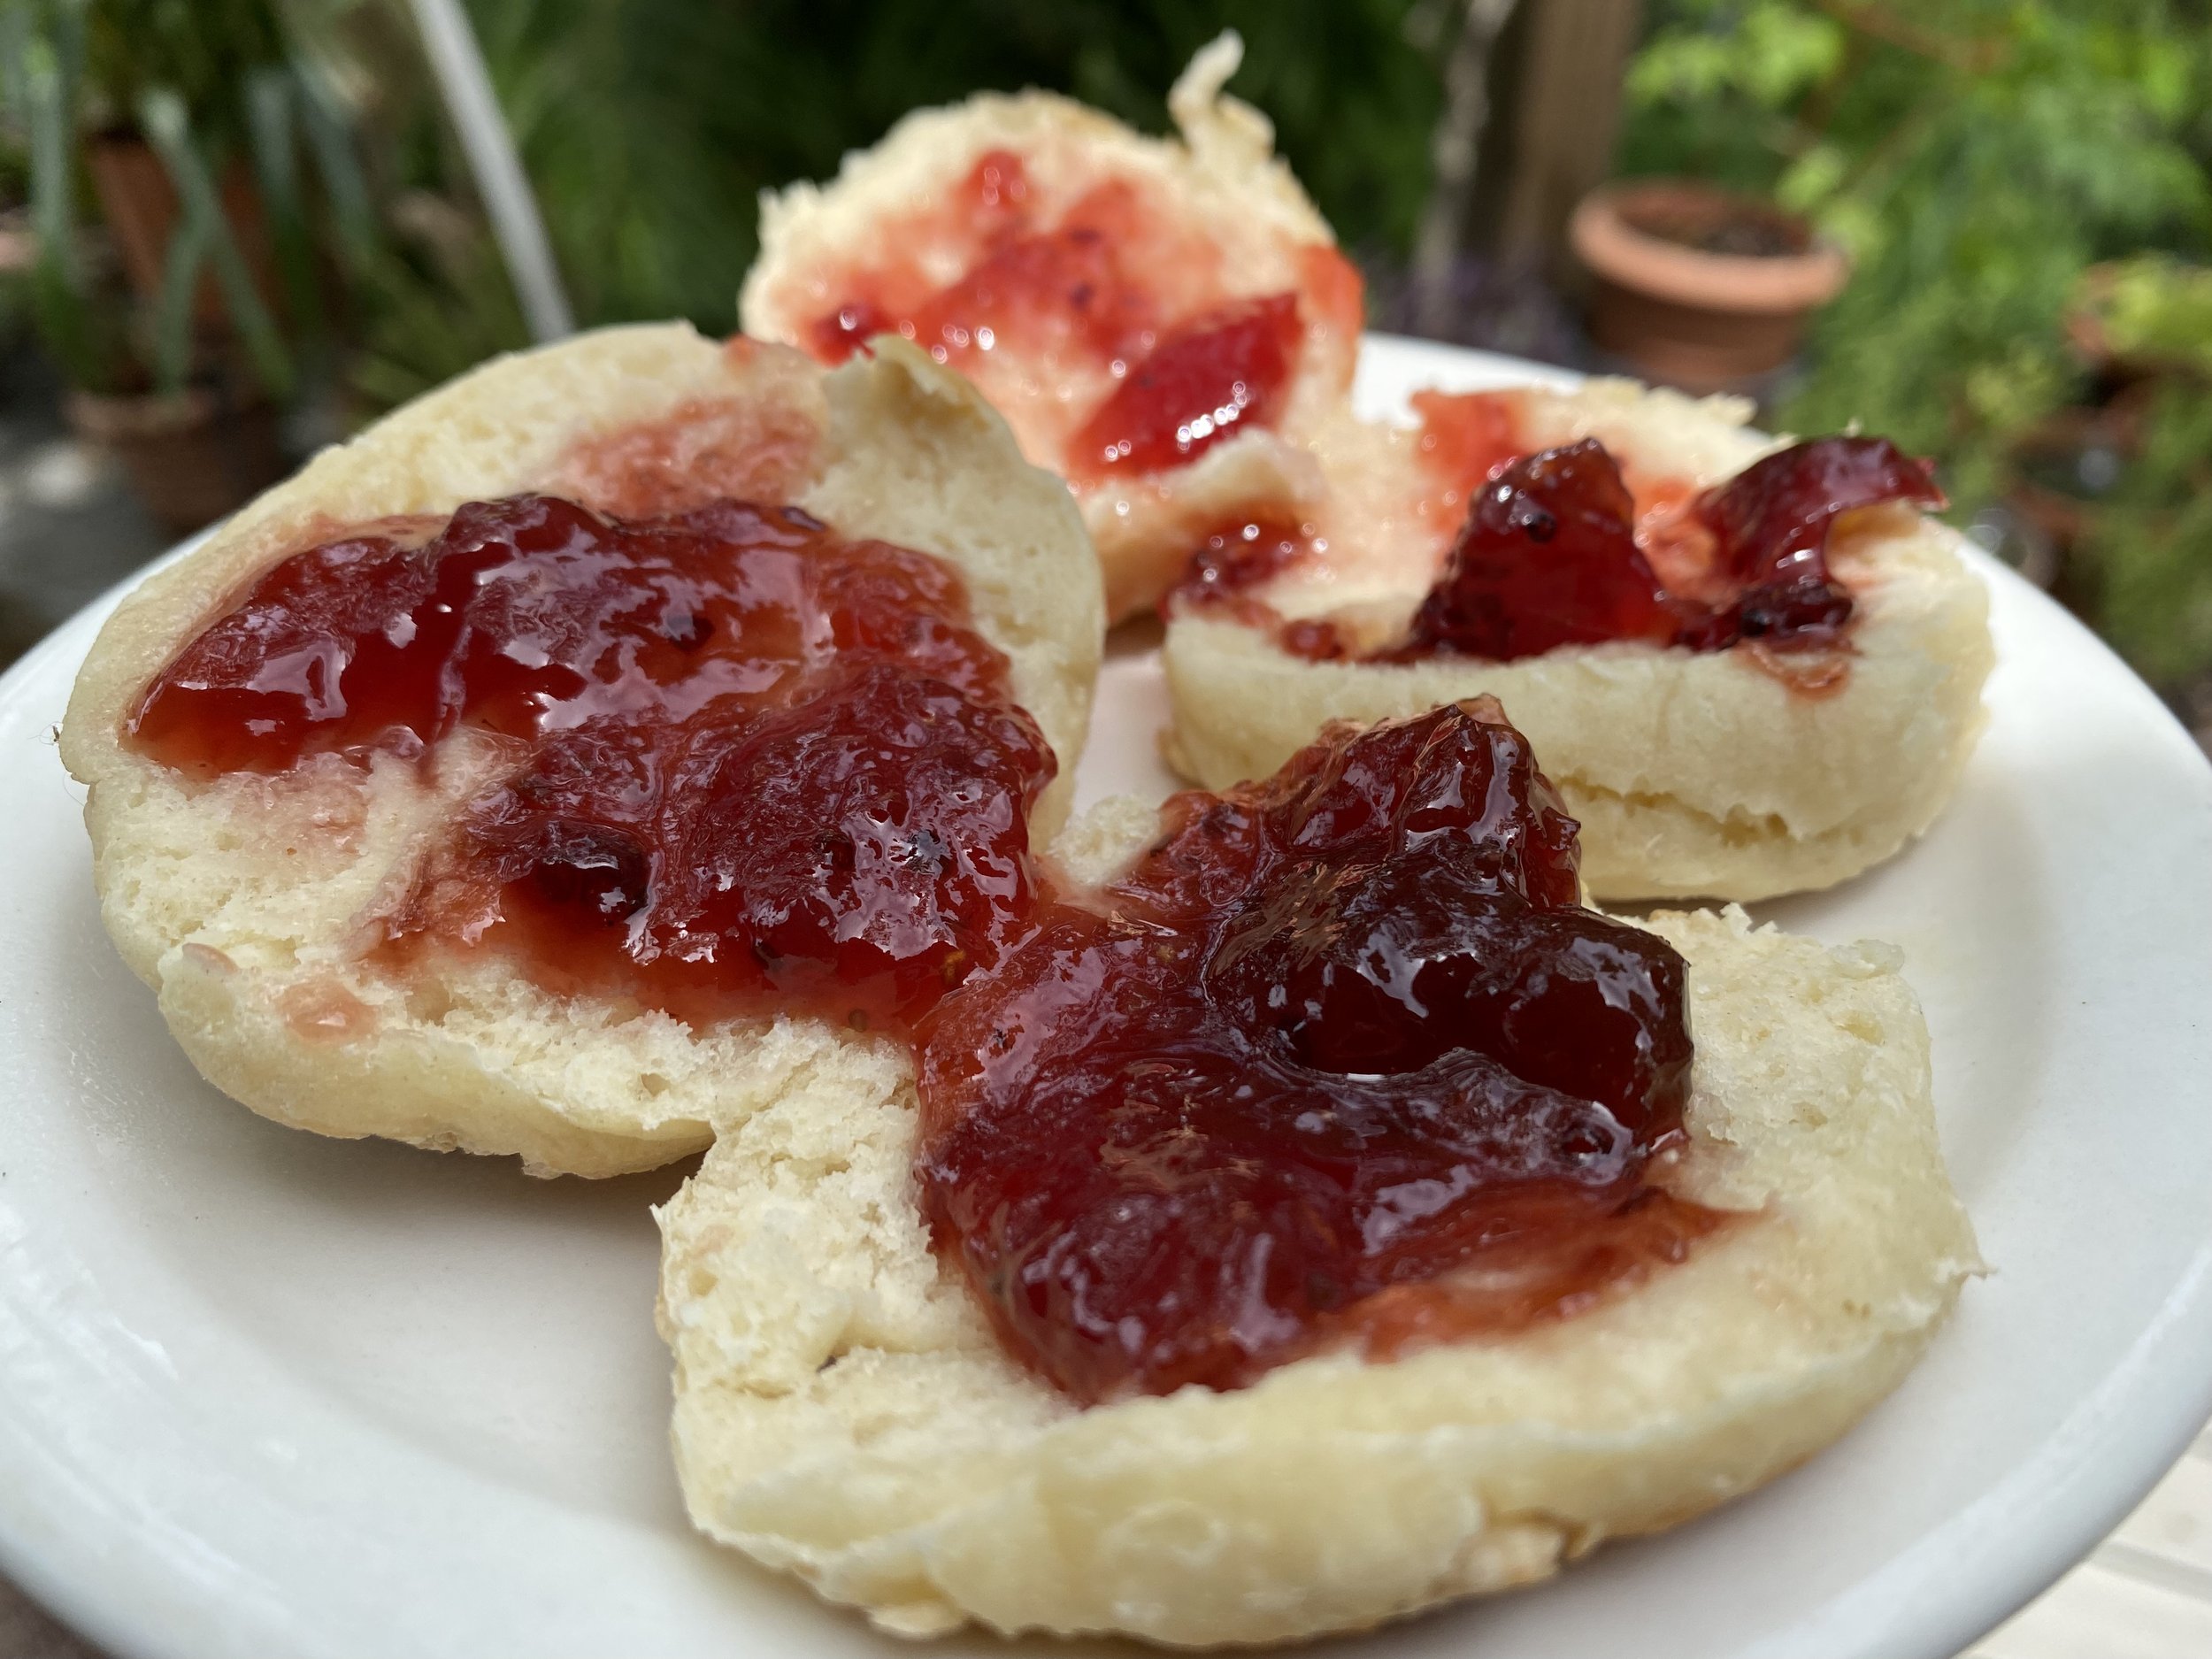
    • Spread on toast or sandwiches once cooled, or transfer jam to a glass jar with a fitted lid and store in the refrigerator for up to 2 weeks.

    Instructions to preserve the jam:

  • Sterilize 4 half-pint jars and their lids. Ladle hot jam into the jars leaving about 1/4 inch between the rim and lid. Remove any air bubbles and wipe the rims clean. Seal tightly with the lids.

  • Process the jars in a boiling-water bath for 10 minutes. The sealed jars can be stored in a cool, dark place for up to 1 year.

  • If a jar fails to seal, store the jam in the refrigerator for up to 1 month.

  • Makes 32 ounces of jam to fit 4 half-pint jars (8-ounce jar).

  • Courtesy “Foodie Crush”

    This would make a wonderful gift from the kitchen and will be going into my favorites!

    Charlotte

Mocha Coffee

You probably have what you need to make Mocha Coffee already except for Lucky Charms marshmallows (just for fun) Photo by Charlotte Ekker Wiggins)

You probably have what you need to make Mocha Coffee already except for Lucky Charms marshmallows (just for fun) Photo by Charlotte Ekker Wiggins)

Mocha Coffee

A friend of mine recently mentioned that she sometimes carries hot chocolate packets with her and makes her own mocha coffee. As we continue to work from home, it’s good to know some of these fun hacks to make a special treat instead of leaving our homes and shopping for drinks.

Now this isn’t one of those complicated coffee drinks although I suppose you can have fun trying a number of additives. For this drink I just tried regular home brewed coffee and hot cocoa mix.

Homemade Mocha Coffee

One cup of brewed hot coffee

Hot cocoa mix to taste

Marshmallows optional

Start with a tablespoon of hot cocoa mix, then keep adding to taste. The amount may depend on how strong your coffee is so take your time to find the right combination.

If you don’t have hot cocoa mix, you can make your own; I have the hot cocoa recipe posted in this blog. You can also use unsweetened cocoa power.

Mocha Coffee with Cocoa Powder

One cup hot brewed coffee

  • 1 tablespoon unsweetened cocoa powder

  • 1 tablespoon white sugar

  • 2 tablespoons milk

The Lucky Charms marshmallows are purely optional and a lot of fun.

For other recipes, try the American Illustrated Encyclopedia of Cooking.

Charlotte

Easy Drop Biscuits

Strawberry jam on one of my easy drop biscuits. (Photo by Charlotte Ekker Wiggins)

Strawberry jam on one of my easy drop biscuits. (Photo by Charlotte Ekker Wiggins)

Easy Drop Biscuits

It’s been a sweater day most of the day. Oh, it’s spring but we have freezing lows and snow in the forecast, a perfect time to whip up this ever so easy drop biscuit recipe. From beginning to ready to eat, 20 minutes max. And they are delicious still warm!

This is a very old family favorite easy biscuit recipe. There’s no waiting for the dough to rise, no flour to roll out and make a kitchen mess. You can easily change it up to your personal preference and freeze them for later consumption.

Let me put this another way, this is as easy as baking homemade biscuits can get!

IMG_0490.jpeg

Easy Drop Biscuits Recipe

You will need:

2 cups flour

3 teaspoons baking powder

1 teaspoon salt

1/2 cup shortening, 1/2 cup butter or a mixture of both*

1 cup milk

All easy drop biscuit ingredients mixed and ready to plop on cookie sheet. (Photo by Charlotte Ekker Wiggins)

All easy drop biscuit ingredients mixed and ready to plop on cookie sheet. (Photo by Charlotte Ekker Wiggins)

To make:

Sift or stir the dry ingredients.

Cut in the shortening and/or butter.

Add the milk; mix.

I shaped these in my hand prior to placing on cookie sheet. (Photo by Charlotte Ekker Wiggins)

I shaped these in my hand prior to placing on cookie sheet. (Photo by Charlotte Ekker Wiggins)

Drop onto a cookie sheet in blobs or shape in your hand before placing on the cookie sheet.

Bake at 450F for 8-10 minutes until golden brown.

These are ready to eat. Well, once I take them out of the electric oven! (Photo by Charlotte Ekker Wiggins)

These are ready to eat. Well, once I take them out of the electric oven! (Photo by Charlotte Ekker Wiggins)

Allow to cool before cutting into them or they may fall apart.

Makes 6 large biscuits.

You can individually freeze, then store in plastic freezer bag for later use.

To reheat, try 20 seconds on high per biscuit.

*Drop Biscuits Recipe Options

If you like fast food restaurant biscuits, make all of the 1/2 cup out of butter.

If you want something less rich, make all of the 1/2 cup out of shortening.

If you want to simulate garlic biscuits, add a teaspoon of garlic.

If you want something pretty, brush with an egg wash prior to cooking.

There you go, one of the simplest and easiest biscuit recipe I know and a classic recipe!

Charlotte


Sugarless Pancakes

Taste tested, these sugarless pancakes made the cut! (Photo by Charlotte Ekker Wiggins)

Taste tested, these sugarless pancakes made the cut! (Photo by Charlotte Ekker Wiggins)

Sugarless Pancakes

We grew up making pancakes. And not just for breakfast. For several years, they were the staple of Sunday nights with friends. Then when my brothers were in college, I would visit my Mom’s house just in time to whip up several batches for hollow-legged young men staying overnight. The Astronomy club members were a personal favorite, they walked around looking up and missed seeing any messes below.

I was looking for a basic recipe without sugar and found this one. It originally had 1 tablespoon of sugar in the original recipe so I tried it without sugar and liked it.

Easy to make, and even easier to make a second dry ingredient batch in glass jars and save it for later use. Just like the brownie recipe. It’s how to make your own “boxed” ingredients for your own use and for gifts if you remember to add the wet ingredients on a label on the lid.

I’m also a fan of the gifts in bags from homegrown herbs and other plants, there is no substitute buying them from a store.

Basic Sugarless Pancakes

Start with 1 1/2 cups all-purpose flour. If you want to play with this recipe you could substitute half with wheat flour or almond flour.

  • 1 1/2 cups flour

  • 3 1/2 teaspoons baking powder

  • 1 teaspoon salt

  • 1 1/4 cups milk

  • 1 egg

  • 3 tablespoons butter, melted

To make:

In a large bowl, sift together the flour, baking powder, salt and sugar. Make a well in the center and pour in the milk, egg and melted butter; mix until smooth.

Pour globs into a pre-heated, medium high pan with shortening or butter. I use shortening.

Turn when bubbles appear.

Bubbles are the sign to flip the pancakes to cook on the other side. (Photo by Charlotte Ekker Wiggins)

Bubbles are the sign to flip the pancakes to cook on the other side. (Photo by Charlotte Ekker Wiggins)

If the pan is not evenly-heated, the pancakes will initially look uncooked. Once turned, check by making a small cut on the pancake edge to ensure it’s cooked all the way through.

Brown on both sides.

Serve hot with maple syrup or better yet, fresh honey.

Once cooked, keep pancakes on paper towel to absorb cooking oil. (Photo by Charlotte Ekker Wiggins)

Once cooked, keep pancakes on paper towel to absorb cooking oil. (Photo by Charlotte Ekker Wiggins)

When I have extras, I freeze them individually then store in a plastic bag for later re-heating.

These hold up well frozen.

Charlotte