Baked Chicken Paprika Garlic

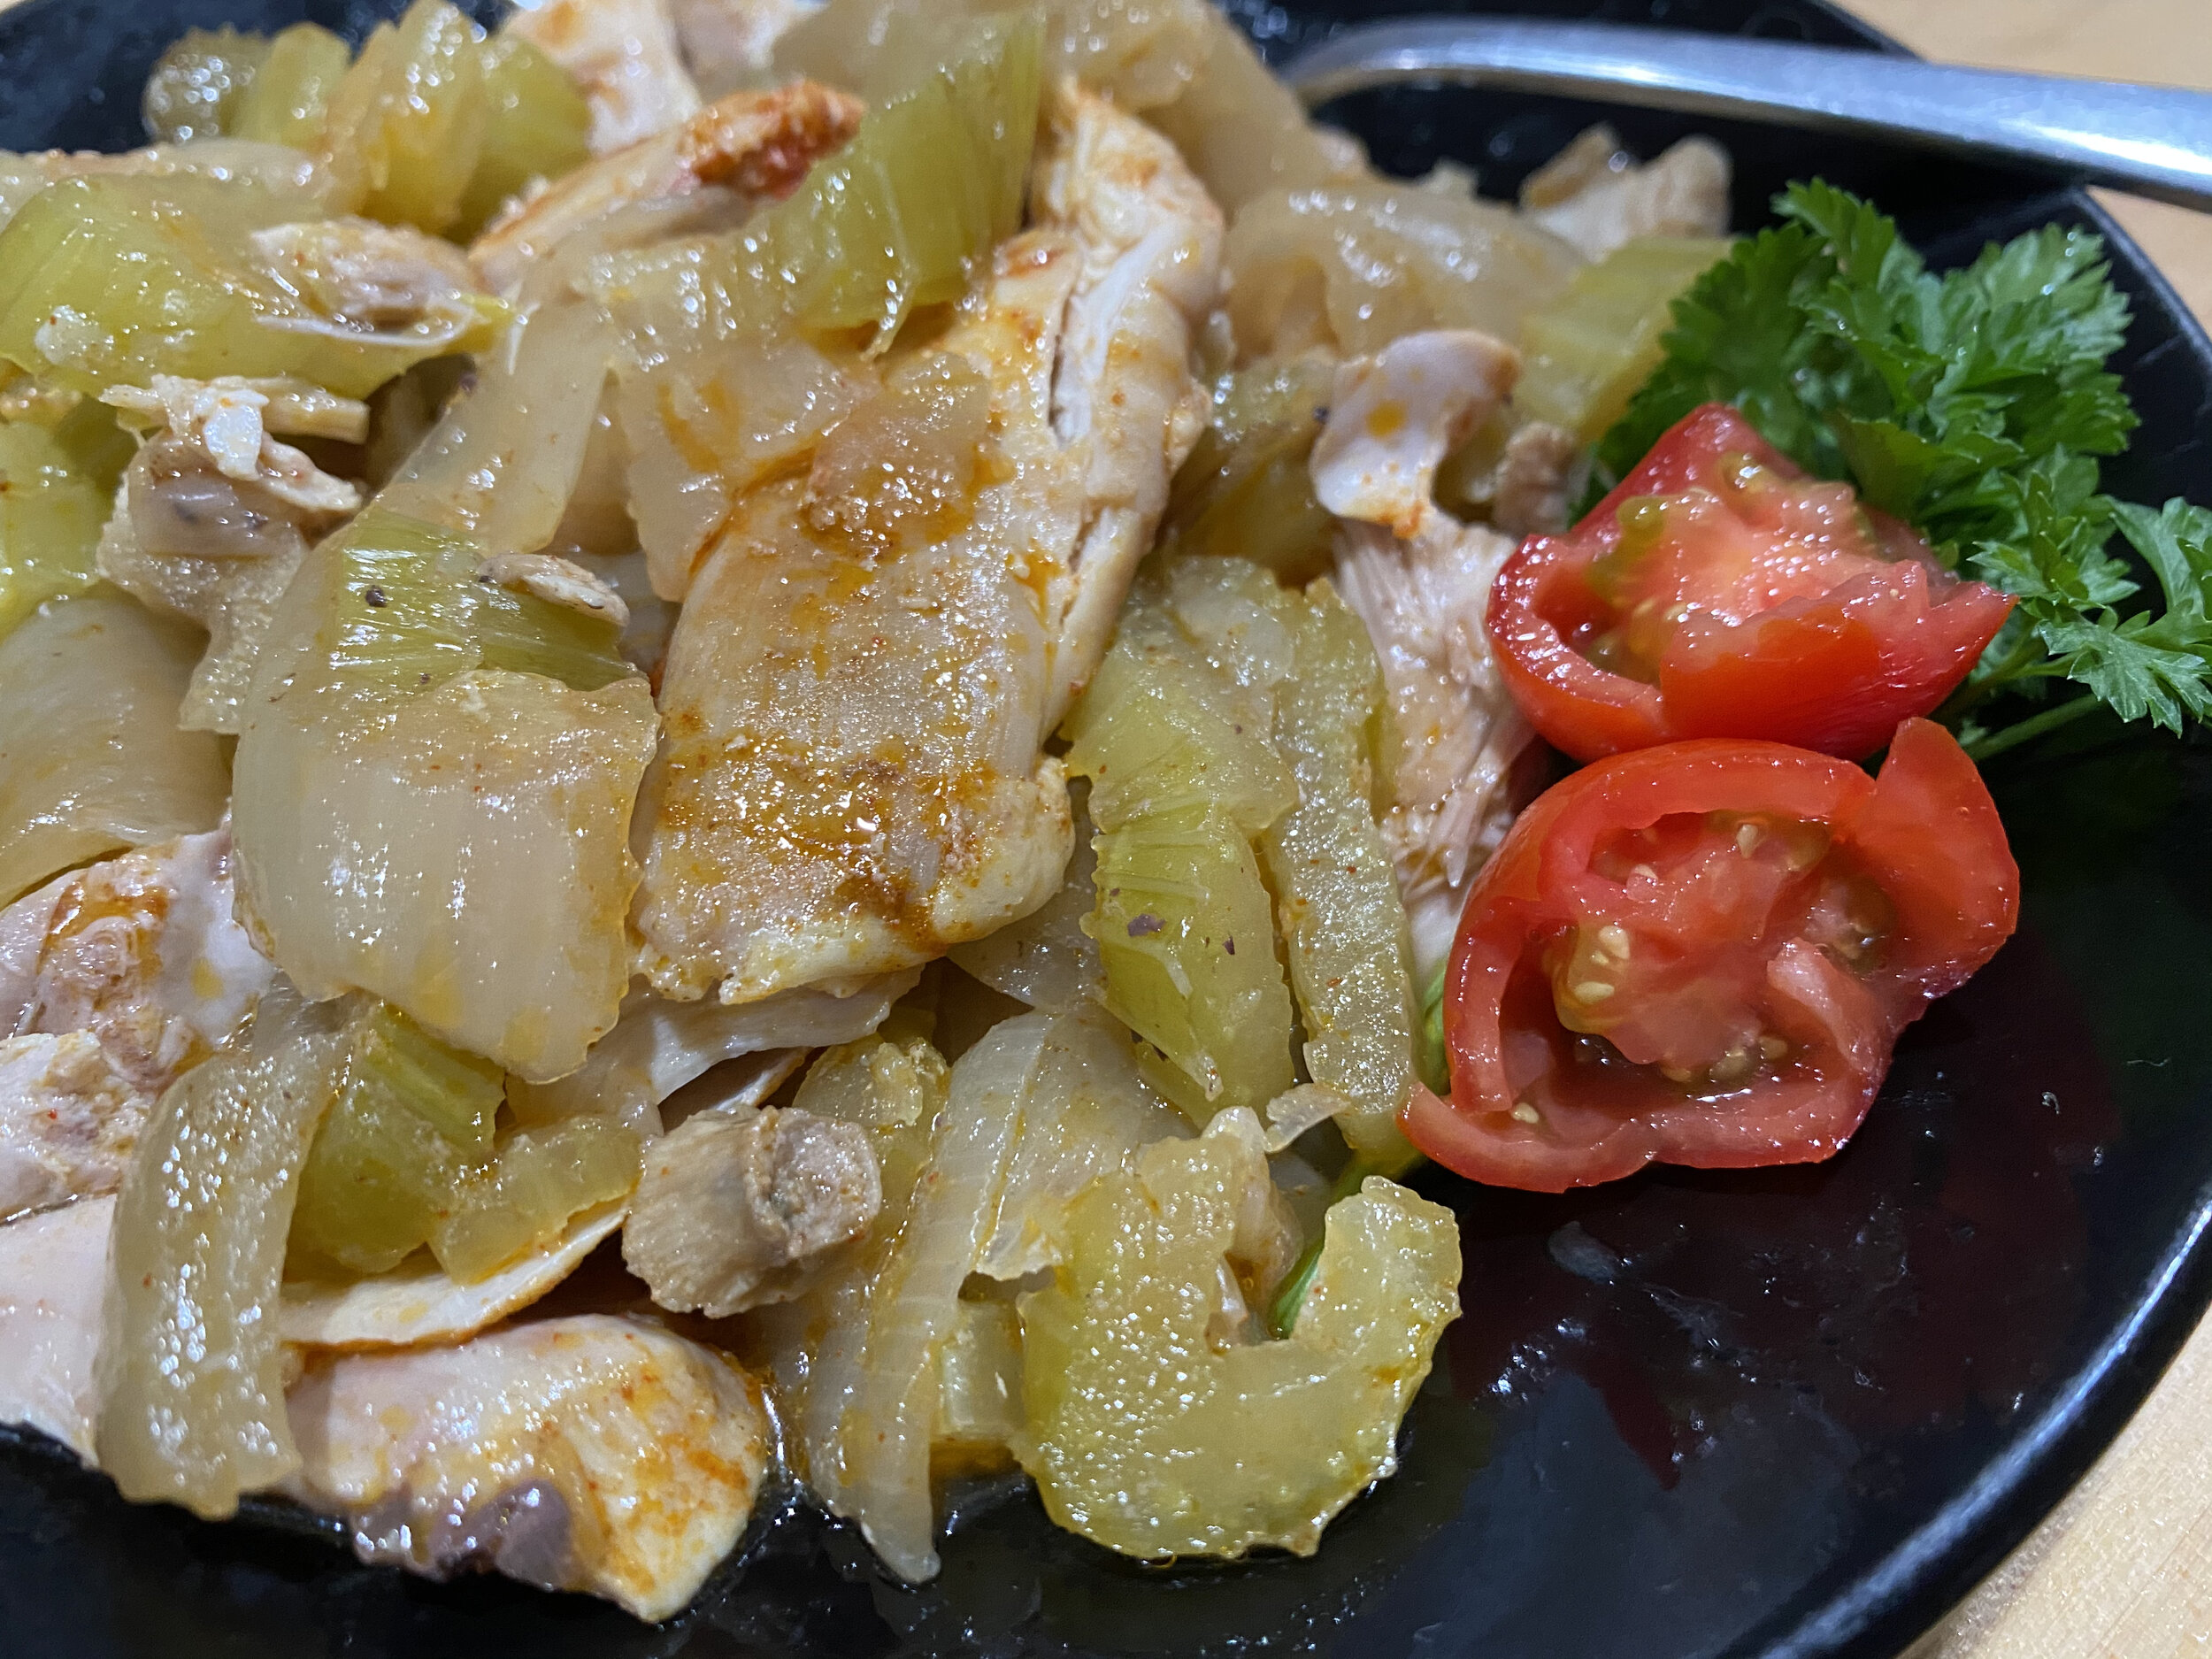
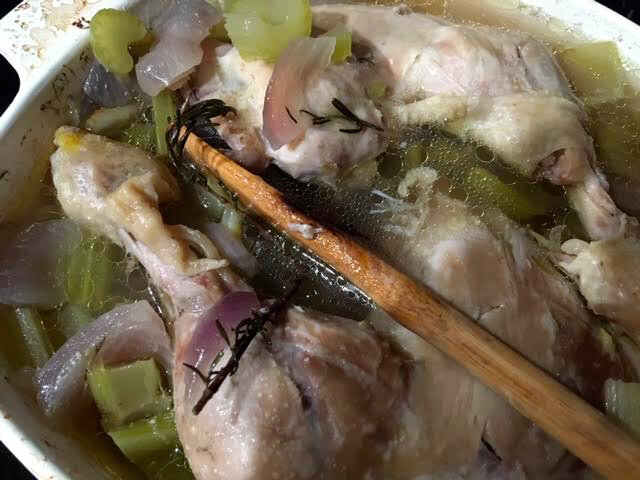
Don’t toss the cooked celery and onions, they make a delicious side dish. (Photo by Charlotte ekker wiggins)

Don’t toss the cooked celery and onions, they make a delicious side dish. (Photo by Charlotte ekker wiggins)

Baked Chicken Paprika Garlic Recipe

Several things before I share this recipe:

  1. I am in no way a fancy or accomplished cook. I share my recipes and culinary adventures to encourage the rest of you to get back in the kitchen and make your own food. Not only is it healthier because you know where it came from, but you can make simple delicious recipes and freeze extra for later consumption. And it will give you a nice feeling of accomplishment!

  2. If you start looking at cost, you will see that cooking your own meals is less expensive than buying prepared food. Kids will enjoy “playing” with food by helping you cook and you can have fun experimenting together. And

  3. My Hungarian father believed any dish was better with paprika, lots and lots of paprika.

  4. This dish is even better the second or third day after the paprika and garlic have had a chance to marinate.

  5. Don’t toss the cooked celery, onions and garlic, they make a delicious side dish!

  6. Start with this basic recipe, then add the seasoning you want to try.

Trying out Penzey’s Baked Spanish-Style Paprika on this baked chicken, (Photo by Charlotte Ekker Wiggins)

Trying out Penzey’s Baked Spanish-Style Paprika on this baked chicken, (Photo by Charlotte Ekker Wiggins)

Bake the chicken and vegetables covered in a 325F oven for 45 minutes to 1 hr.

Paprika Garlic Baked Chicken coming out of the oven. (Photo by Charlotte Ekker Wiggins)

Paprika Garlic Baked Chicken coming out of the oven. (Photo by Charlotte Ekker Wiggins)

Baked Chicken Paprika Garlic Recipe

This is for 6 chicken thighs. You can use any other favorite chicken and turkey parts. I like thighs because they are built in portion control, about 3 ounces per thigh without the bone.

You Will Need:

6 chicken thighs

1 large minced onion

6 cut up celery stalks (minimum)

4 teaspoons chicken bouillon

2 teaspoons garlic powder (or one fresh minced garlic)

Paprika sprinkled on both front and back of chicken thighs.

Salt to taste.

To Make:

Remove chicken skin and any attached fat.

Place paprika-dusted thighs in dish. Add onions, garlic powder or fresh garlic, cut up celery and chicken bouillon.

Fill half way with water. Gently mix. Cover with aluminum foil or lid.

Bake at 325F for an hour or until the chicken falls off the bone.

Allow to rest for 10-15 minutes before serving.

Deboned thigh in 1-inch of juice ready for freezing. (Photo by Charlotte Ekker Wiggins)

Deboned thigh in 1-inch of juice ready for freezing. (Photo by Charlotte Ekker Wiggins)

I debone before freezing. I also include about an inch of the juice in the bottom of the container for when it is reheated. The juice helps keep the baked chicken moist.

If you are just starting to cook, pick up a good basic cookbook like the 2007 American Encyclopedia of American Cooking. Learn the basics, then have fun in your kitchen!

Charlotte


Easy Tuna Salad

Ready to enjoy this tuna salad on my sunny deck. (Photo by Charlotte Ekker Wiggins)

Ready to enjoy this tuna salad on my sunny deck. (Photo by Charlotte Ekker Wiggins)

Easy Tuna Salad

When we were growing up quite poor in southern Illinois, this was one of my mother’s “go to” recipes. With a few tweaks, she could go from feeding 2 to feeding 8 without missing a beat. Whenever I see a 2 oz. can of tuna I remember my mother pulling out the Charlie Chip potato chips and eyeing the loaf of bread, just in case.

If she needed to stretch the tuna salad, she would make sandwiches and add potato chips on one side of the bread.

Easy Tuna Salad Recipe

You will need:

2 oz. can of tuna packed in water

Lettuce of choice and garden greens

Finely chopped onions, either red or white

Mayonnaise or light Ranch dressing

Optional:

Fresh blueberries

Fresh strawberries

Letting this sit for a couple of hours to let the onions marinate makes it tastier. (Photo by Charlotte Ekker Wiggins)

Letting this sit for a couple of hours to let the onions marinate makes it tastier. (Photo by Charlotte Ekker Wiggins)

To make:

Drain water out of tuna; give tuna water to a cat for a treat.

Fluff tuna in a bowl. Add torn head of green lettuce.

Toss with mayonnaise or ranch dressing. Start with a couple of tablespoons, then add more to taste.

Add minced onions; toss again. I like to let this sit in the refrigerator for a couple of hours to let the onions marinate.

Right before serving and eating, sprinkle bluebirds or sliced strawberries on top.

To easily extend this dish, you can also add more lettuce.

If you are just starting your culinary adventure, or are looking for a good Mother’s Day gift because Mom is, get her something where she can write down her favorite recipes and write her own cookbook. You can buy this one or make one from a nice loose leaf binder.

It’s hard to beat the good basic favorite recipes!

Charlotte


Whipped Coffee

Dollop of homemade whipped coffee on a muffin, yumm! (Photo by Charlotte Ekker Wiggins)

Dollop of homemade whipped coffee on a muffin, yumm! (Photo by Charlotte Ekker Wiggins)

Whipped Coffee

Many of us are quarantined at home, some rediscovering their kitchens and why they even have one. I have always enjoyed my kitchen, approaching it with a creative bent more than anything else. I sometimes just read recipe books for the sheer inspiration of what else I can combine without exploding. That’s a long story involving my two younger brothers and I experimenting in the kitchen leaving a huge tomato stain on my mother’s kitchen ceiling. So when I heard about the latest fad, whipped coffee or Dalgona coffee,I had to try it.

Now I used to drink coffee. A lot of it. I stopped more than a decade ago at a doctor’s recommendation, with maybe a handful of forays when I was too tired to safely drive, or stay awake at a conference. Or there was a slice of homemade chocolate pie with a good friend and even better conversation!

Whipped coffee is not new to the rest of the world. Dalgona Coffee (Korean Coffee), Frappe Coffee (in Greek) and Beaten Coffee (in India.)

Whipped Coffee Recipe

You will need:

2 tablespoons instant coffee*

(*one of those long skinny packets of instant coffee has 2 tablespoons)

2 tablespoons sugar

2 tablespoons warm water

Using a little deeper bowl will help to keep coffee mixture from going all over. (Photo by Charlotte Ekker Wiggins)

Using a little deeper bowl will help to keep coffee mixture from going all over. (Photo by Charlotte Ekker Wiggins)
To make:

Mix all three together until instant coffee crystals melt.

Whip to stiff peaks. Some claim 3-5 minutes; mine took almost 10 with a beater on my hand mixer and it still wasn’t light and fluffy, more like a glob.

The challenge with whipping this is getting a small enough container to keep ingredients in one enclosed spot for easy whipping. I finally found a small round glass container that would hold the mixture and still allow for the beater.

Now when ready, this is supposed to look like a caramel whipped topping. Mine was more of a dense mixture. Placing it in the refrigerator helps to solidify it.

A little goes a long way, I could easily use this on 4-6 items, such as:

Add to warm or iced milk. Mix. I added my sample to a glass of cold milk. That was surprisingly good!

Also tried it on one of my homemade muffins. Nice little added flavor!

I suspect this would also be delicious on chocolate pudding or chocolate pie. I have that on my list to try next.

What do you think, have you tried and do you like whipped coffee?

Charlotte

P.S. Oh, the greenery on the whipped coffee? A leaf of fresh, homegrown catnip from the stash I am currently drying. I dry them for my homemade cat toys and am going to make tea for me out of them. I don’t use harmful chemicals in my garden so the dried catnip will be safe for both uses.

Easy Drop Biscuits

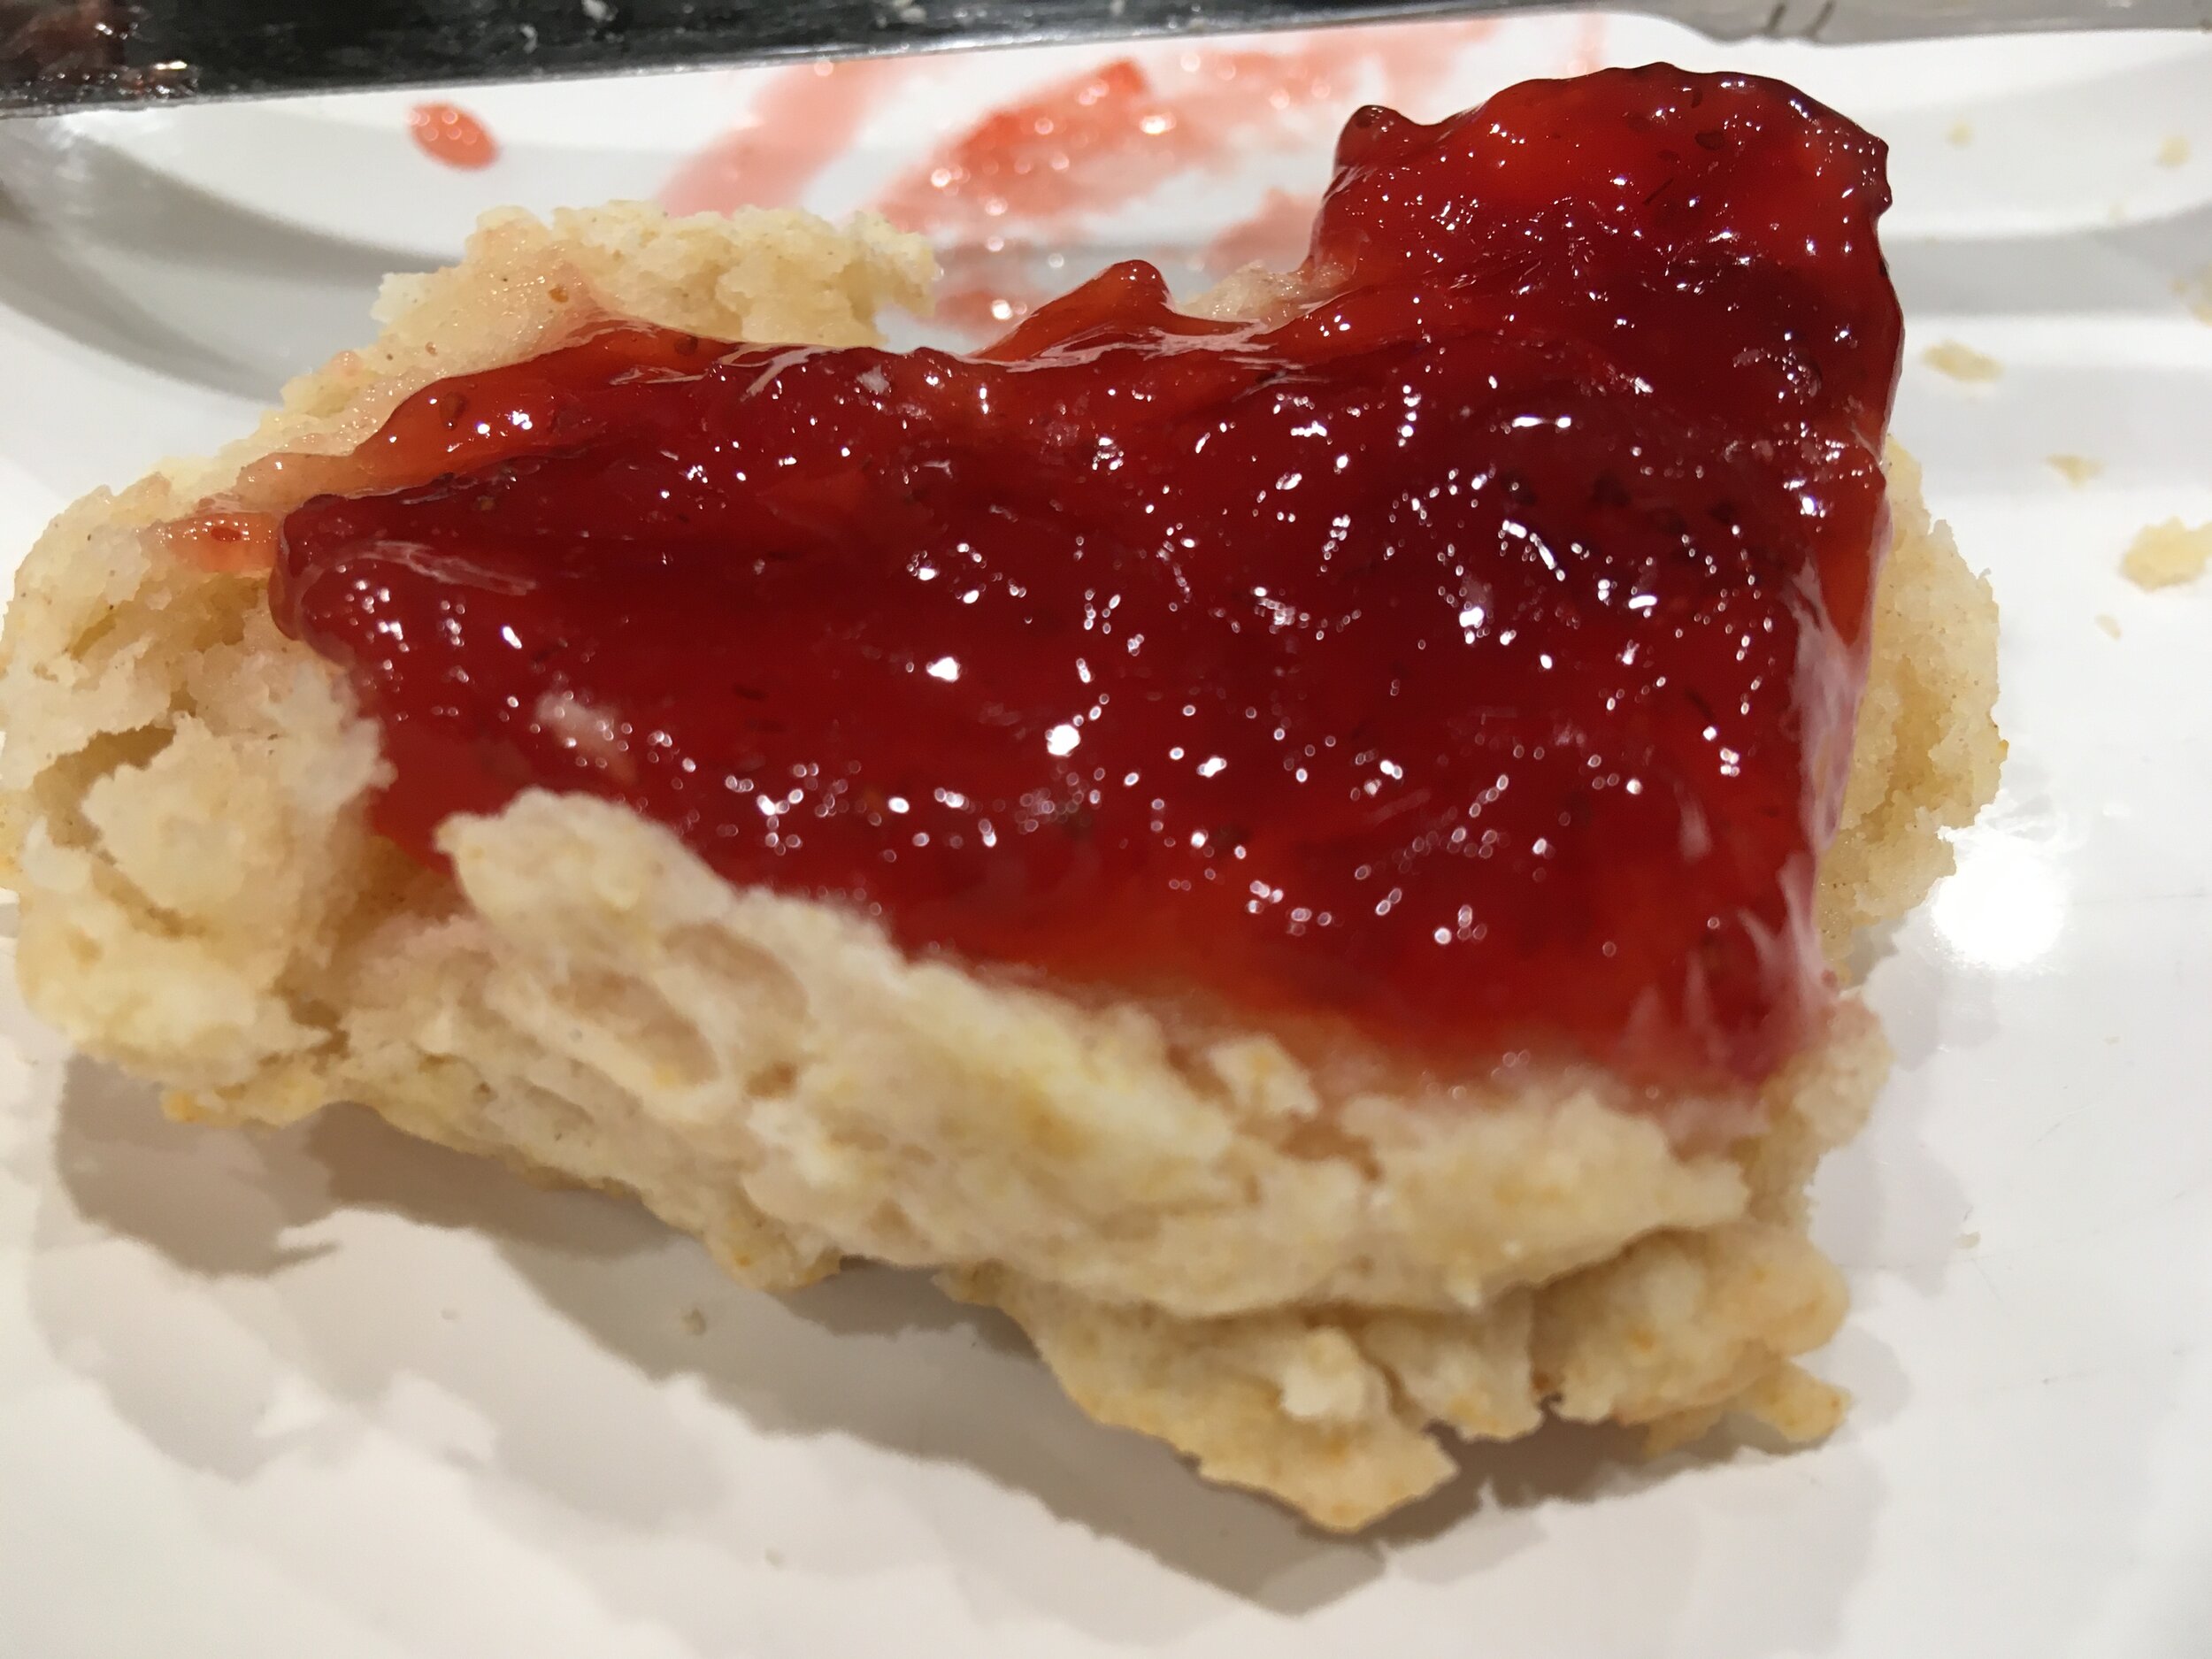
Strawberry jam on one of my easy drop biscuits. (Photo by Charlotte Ekker Wiggins)

Strawberry jam on one of my easy drop biscuits. (Photo by Charlotte Ekker Wiggins)
Easy Drop Biscuits

It’s been a sweater day most of the day. Oh, it’s spring but we have freezing lows and snow in the forecast, a perfect time to whip up this ever so easy drop biscuit recipe. From beginning to ready to eat, 20 minutes max. And they are delicious still warm!

This is a very old family favorite easy biscuit recipe. There’s no waiting for the dough to rise, no flour to roll out and make a kitchen mess. You can easily change it up to your personal preference and freeze them for later consumption.

Let me put this another way, this is as easy as baking homemade biscuits can get!

IMG_0490.jpeg

Easy Drop Biscuits Recipe

You will need:

2 cups flour

3 teaspoons baking powder

1 teaspoon salt

1/2 cup shortening, 1/2 cup butter or a mixture of both*

1 cup milk

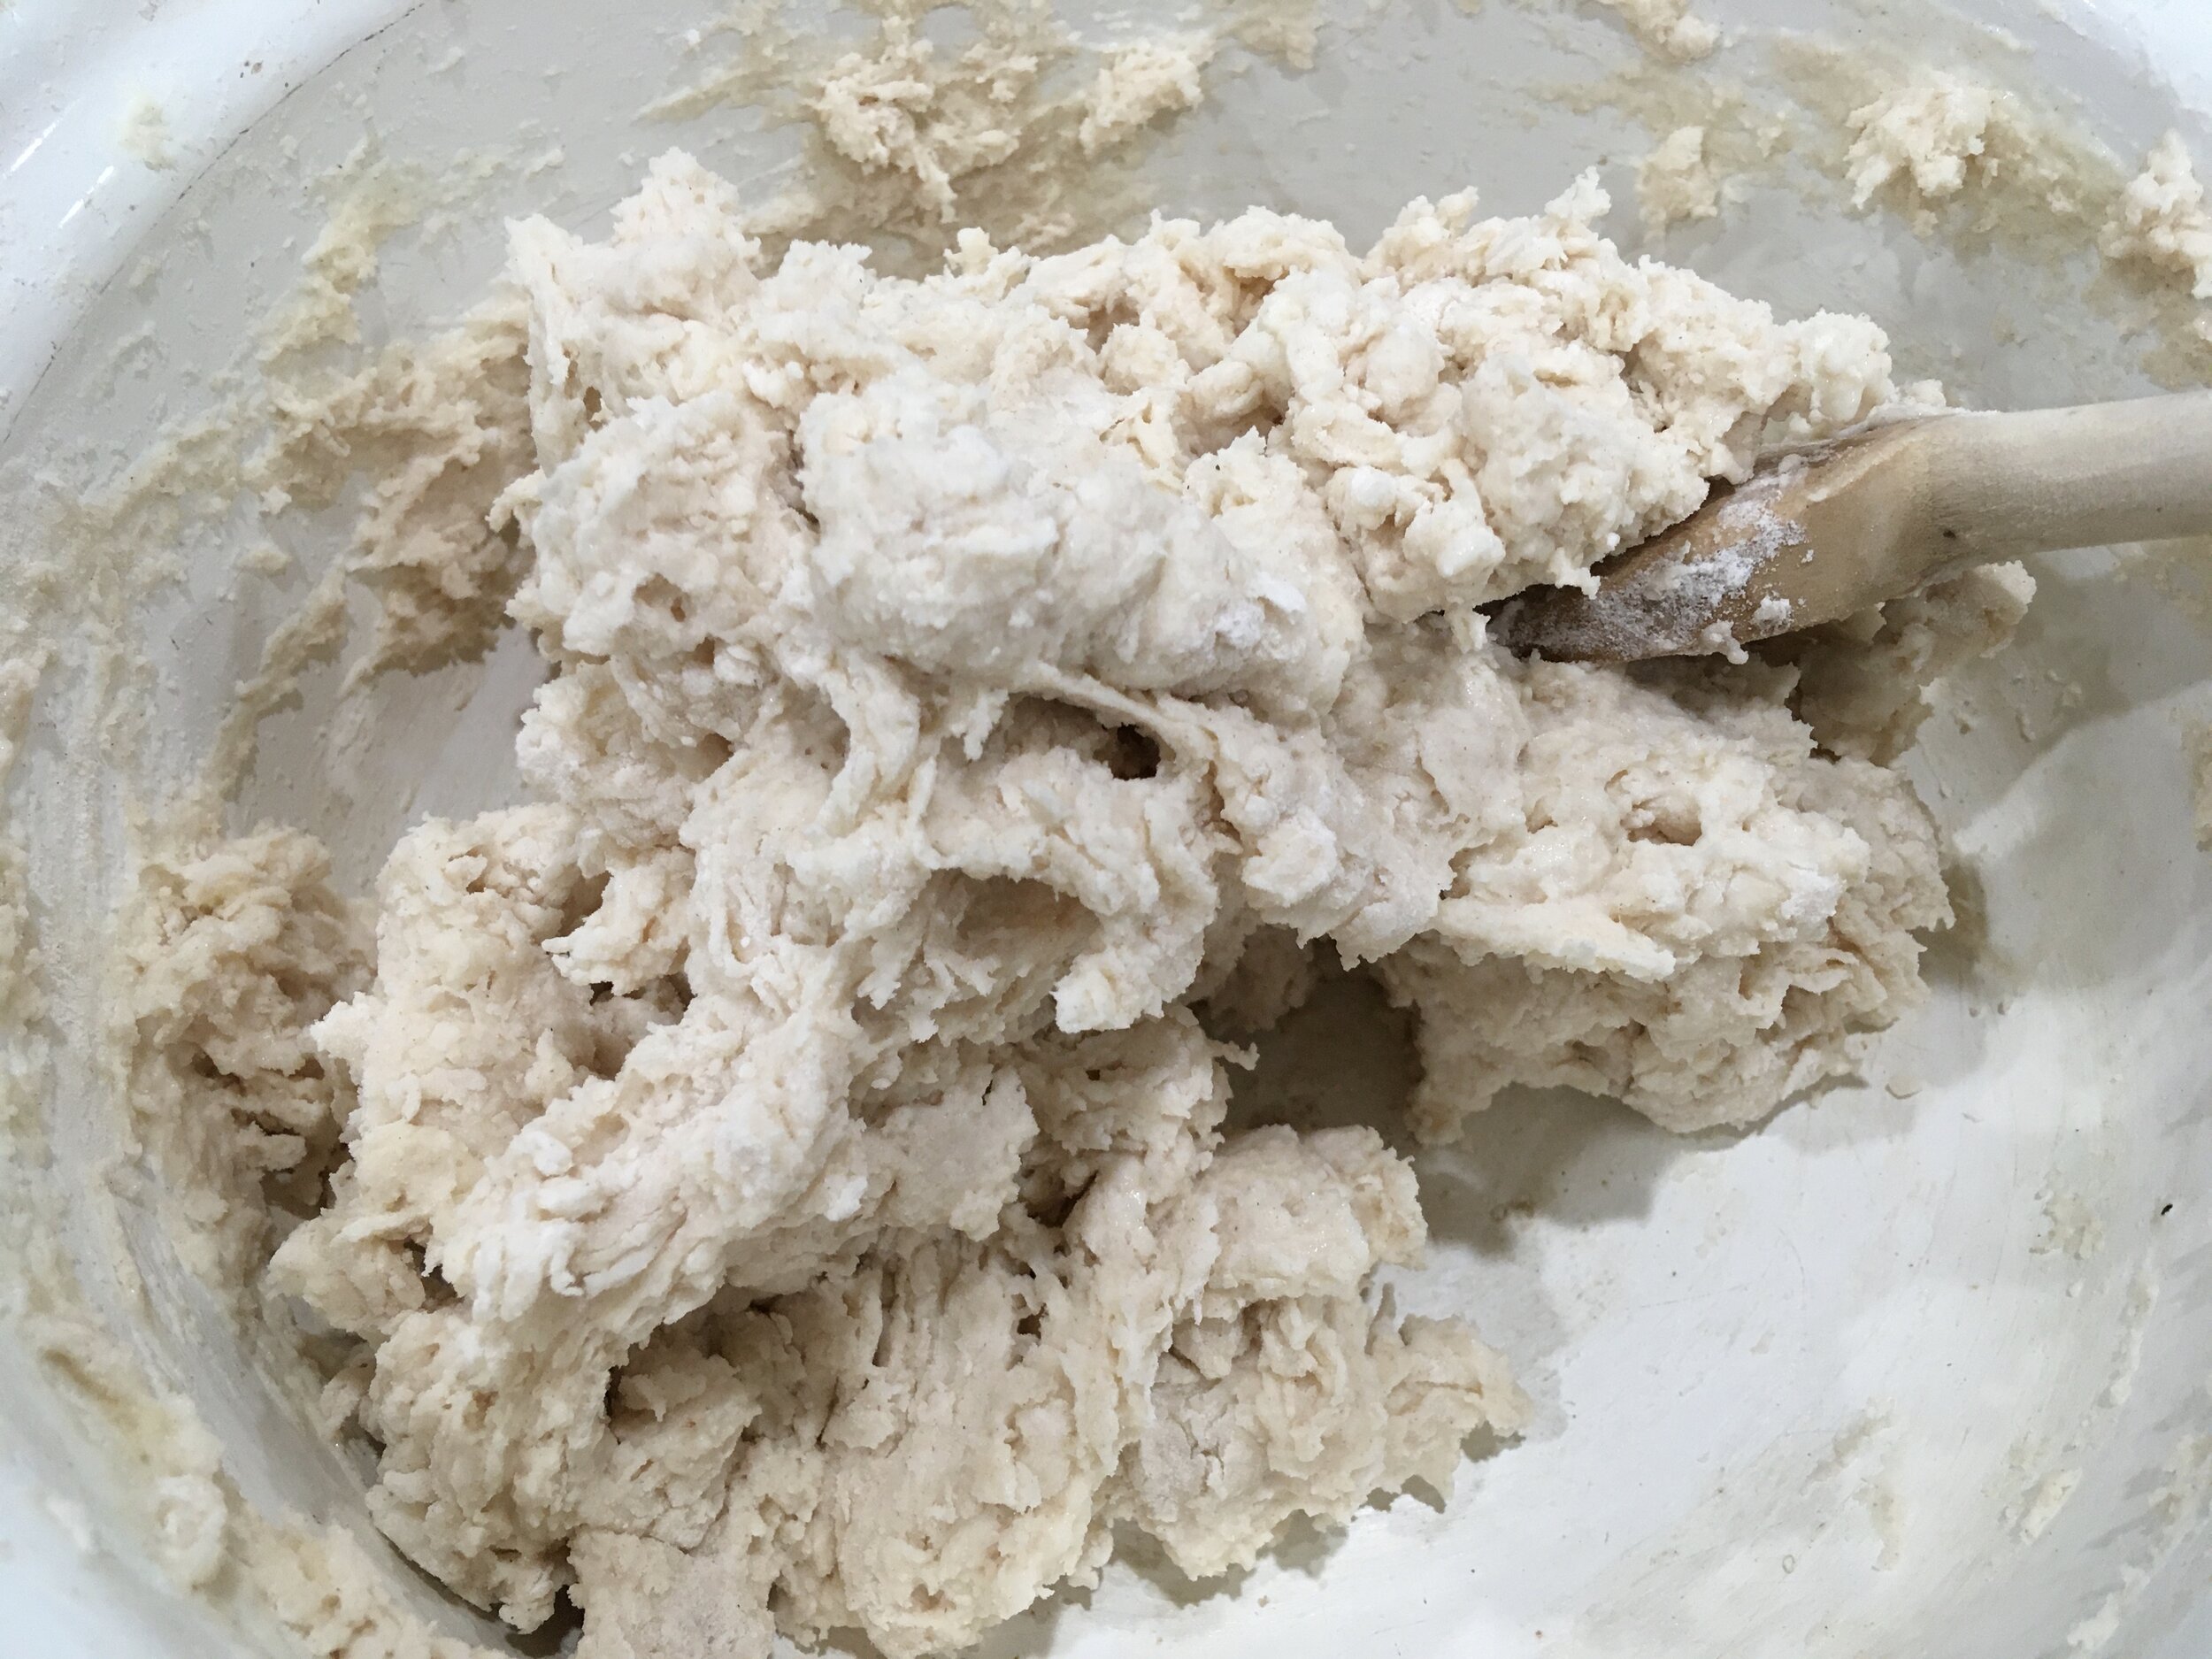
All easy drop biscuit ingredients mixed and ready to plop on cookie sheet. (Photo by Charlotte Ekker Wiggins)

All easy drop biscuit ingredients mixed and ready to plop on cookie sheet. (Photo by Charlotte Ekker Wiggins)

To make:

Sift or stir the dry ingredients.

Cut in the shortening and/or butter.

Add the milk; mix.

I shaped these in my hand prior to placing on cookie sheet. (Photo by Charlotte Ekker Wiggins)

I shaped these in my hand prior to placing on cookie sheet. (Photo by Charlotte Ekker Wiggins)

Drop onto a cookie sheet in blobs or shape in your hand before placing on the cookie sheet.

Bake at 450F for 8-10 minutes until golden brown.

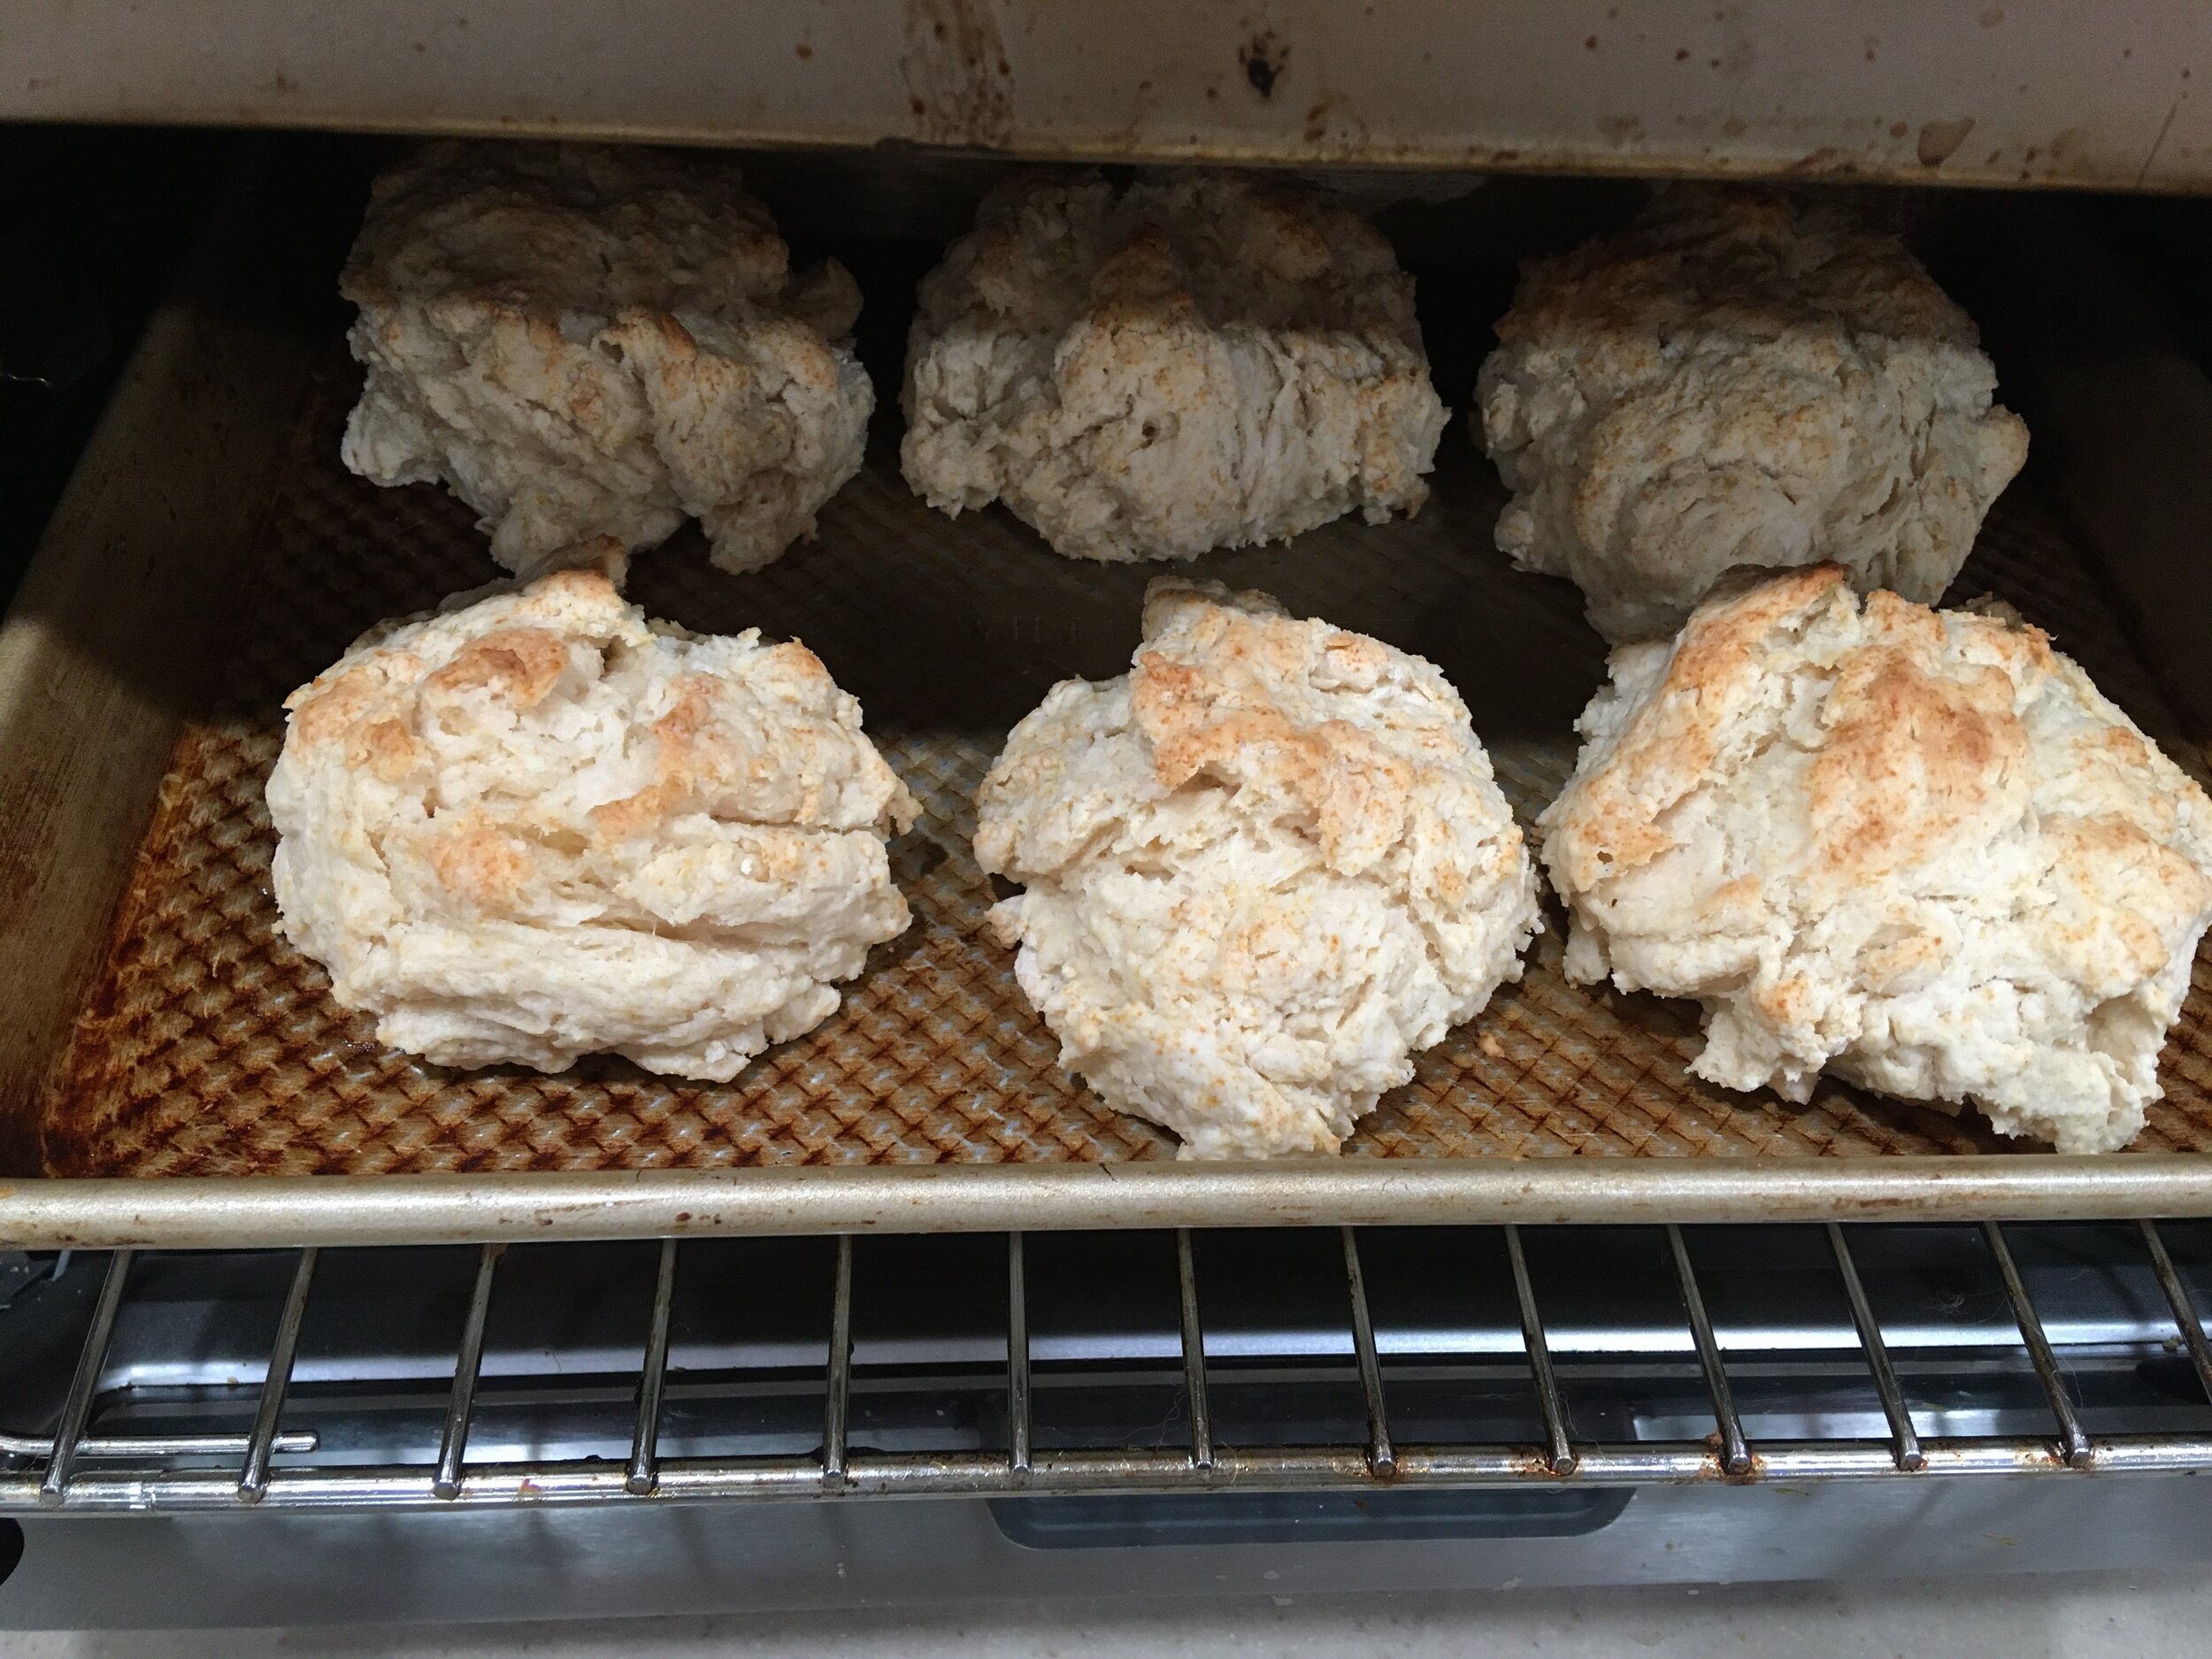
These are ready to eat. Well, once I take them out of the electric oven! (Photo by Charlotte Ekker Wiggins)

These are ready to eat. Well, once I take them out of the electric oven! (Photo by Charlotte Ekker Wiggins)

Allow to cool before cutting into them or they may fall apart.

Makes 6 large biscuits.

You can individually freeze, then store in plastic freezer bag for later use.

To reheat, try 20 seconds on high per biscuit.

*Drop Biscuits Recipe Options

If you like fast food restaurant biscuits, make all of the 1/2 cup out of butter.

If you want something less rich, make all of the 1/2 cup out of shortening.

If you want to simulate garlic biscuits, add a teaspoon of garlic.

If you want something pretty, brush with an egg wash prior to cooking.

There you go, one of the simplest and easiest biscuit recipe I know and a classic recipe!

Charlotte


Suspiros

Suspiros, also called Meringue sighs, are a light and delicious sweet treat. (Photo by Charlotte Ekker Wiggins)

Suspiros, also called Meringue sighs, are a light and delicious sweet treat. (Photo by Charlotte Ekker Wiggins)

Suspiros (Brazilian sighs)

We grew up on an island on the Equator off the coast of Brazil so many of my younger brother’s favorite recipes are from those days.

This is one of them, “suspiros,” which means “sighs” in Portuguese. The hardest part is practicing to get the meringue to form little “kiss” shapes as you place it on the buttered cookie sheet. You can pipe them and shape them to taste, we learned to make these in the form of the “kiss” shape.

Suspiros were special deserts for Easter, weddings and other special occasions including birthdays. To some, they still are a favorite birthday treat.

Suspiro Ingredients

4 egg whites
1/4 teaspoon cream of tartar
1/4 cup granulated sugar
1/2 cup powdered sugar
pinch of salt
3/4 teaspoon vanilla extract

Since we had our own chickens, I thought all egg whites would work. After trying several store purchased options, I prefer fresh home raised eggs.

Eggs from a beekeeping friend were perfect for these suspiros. (Photo by Charlotte Ekker Wiggins)

Eggs from a beekeeping friend were perfect for these suspiros. (Photo by Charlotte Ekker Wiggins)

I also allow the eggs to get to room temperature so they fluff up when beaten.

Now when we made these in Brazil, it was egg whites, sugar and lemon zest. This recipe provides the sighs a little more substance so they last longer when stored.

Basic Suspiro ingredients with lemon zest and flavor as personal favorite. (Photo by Charlotte Ekker Wiggins)

Basic Suspiro ingredients with lemon zest and flavor as personal favorite. (Photo by Charlotte Ekker Wiggins)

Suspiro Directions


1) Place the egg whites and the cream of tartar in the bowl of a standing mixer.
2) Beat the egg whites on medium speed until the egg whites form soft peaks.
3) Gradually add the granulated sugar, while still beating the egg whites. Continue to beat the egg whites until they have increased in volume and are forming stiff peaks. Sift the powdered sugar together with the salt, then add gradually to the egg whites, continuing to beat, until well mixed.
4) Gently drip the vanilla extract into the meringue.
5) Preheat the oven to 200 degrees Fahrenheit.
6) Line two cookie sheets with parchment paper or cover cookie sheet with butter.
7) Pipe the meringue into small swirls onto the parchment-lined cookie sheets, spacing them about 1/2 inch apart. You can also use teaspoons to drop them on cookie sheet in the form of a kiss.
8) Place the cookies in the oven and bake for about 1 hour, checking them every 15 minutes. Once they look crisp and well formed, turn off the heat and let them cool off in the oven for about 2 hours.
9) Serve the suspiros immediately or store them in an airtight container to ensure freshness.

Not exactly cooking wild in Missouri but certainly a memorable sweet treat!

Charlotte

Cauliflower Crust

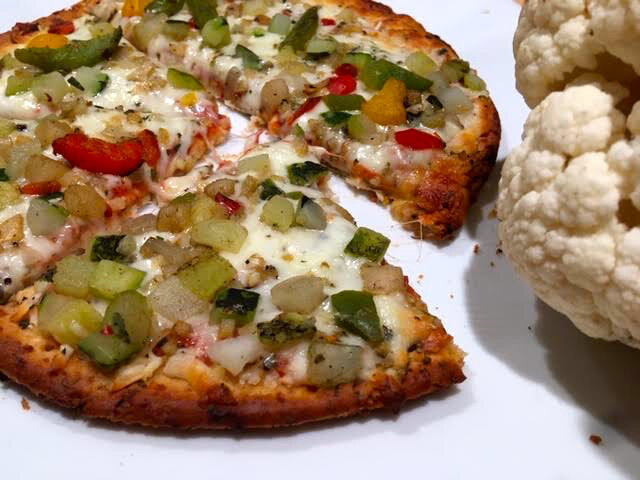
Cauliflower pizza crust, topped with vegetables, is a scrumptious option. (Photo by Charlotte Ekker Wiggins)

Cauliflower pizza crust, topped with vegetables, is a scrumptious option. (Photo by Charlotte Ekker Wiggins)

Cauliflower Crust

I tried my first cauliflower pizza crust and would happily just make the crust to enjoy with a salad. This was a cauliflower pizza crust on a pizza covered in vegetables, my personal favorite.

Turns out cauliflower anything - mashed potato look alike, now pizza crust - are among the two new uses of this vegetable I have traditionally consumed steamed. Maybe mixed with steamed broccoli.

The recipe to make cauliflower crust is also simple so here’s the one I am making.

Cauliflower Pizza Crust Recipe

Ingredients:

  • 1 head cauliflower, chopped

  • 2 large eggs

  • 1/2 cup shredded mozzarella cheese

  • 2 tablespoons freshly grated Parmesan

  • 1 tablespoon Italian seasoning

  • Kosher salt and freshly ground black pepper, to taste

To Make:

  1. Preheat oven to 425 degrees F. Line a baking sheet with parchment paper or a silicone baking mat; set aside.

  2. To make the cauliflower crust, add cauliflower to the bowl of a food processor and pulse until finely ground, yielding about 2-3 cups.*

  3. Transfer to a microwave-safe bowl. Cover loosely and place into microwave for 4-5 minutes, or until softened; let cool.

  4. Using a clean dish towel or cheese cloth, drain cauliflower completely, removing as much water as possible.

  5. Transfer cauliflower to a large bowl. Stir in eggs, mozzarella, Parmesan and Italian seasoning; season with salt and pepper, to taste.

  6. Spread cauliflower mixture into a 15- by 10-inch rectangle onto the prepared baking sheet. Spray lightly with nonstick spray and bake for 12-15 minutes, or until golden.

  7. To make into a pizza, pour pizza sauce and desired toppings as well as cheese. Place back in oven 3-5 minutes to melt cheese.

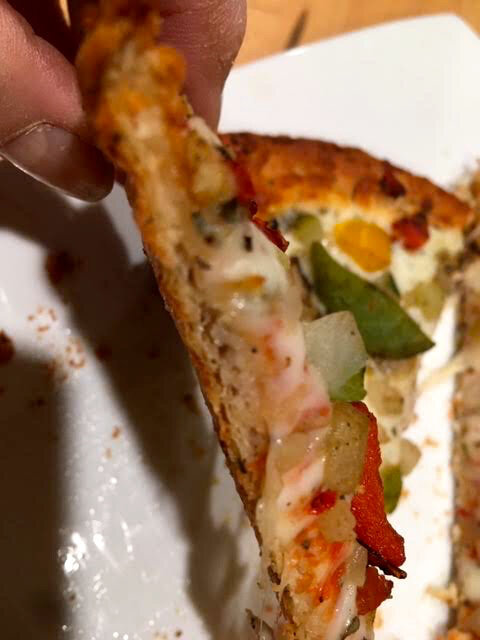
Here’s a piece of a cauliflower pizza crust close up to inspire you. (Photo by Charlotte Ekker Wiggins)

Here’s a piece of a cauliflower pizza crust close up to inspire you. (Photo by Charlotte Ekker Wiggins)

Frankly I put off trying this pizza crust alternative but glad to know I was wrong to do so.

The more ways we have to consume vegetables and have plant-based diets, the better we will all be.

Charlotte

Yeast Cinnamon Rolls

Finished and ready for tasting, homemade yeast cinnamon rolls! (Photo by Charlotte Ekker Wiggins)

Finished and ready for tasting, homemade yeast cinnamon rolls! (Photo by Charlotte Ekker Wiggins)

Yeast Cinnamon Rolls

I suspect the first yeast cinnamon rolls were made in the middle of cold, harsh winter. If not, they should have been. Is there a better way to warm up than yeast cinnamon rolls right out of the oven?

This is a recipe I have wanted to try for several years. I would buy the active yeast, then lose it somewhere in my kitchen cabinets. By the time I found it, it was ready for the compost pile.

Not this year.

I bought the active yeast and pinned it to my refrigerator with a magnet. But then mid-mixing, I couldn’t find my white flower so I made this recipe was made with 2 cups white flour and 5 cups wheat flour. Makes it sound healthier, doesn’t it? The new bag of white flour was in the freezer.

No, I’m not losing it, I deliberately stored it there.

I also didn’t brush the inside with melted butter. Cutting calories wherever I can without changing the overall flavor.

Yeast Cinnamon Rolls Recipe

2 packages Active yeast

1 tablespoon sugar

1/2 cup butter

1 tablespoon salt

7 cups flour

1 cup warm water

1 cup scalded milk'

1/2 cup sugar

4 eggs well beaten

To make:

Feed me sugar, said the yeast packet in warm water. It should be bubbling. (Photo by Charlotte Ekker Wiggins)

Feed me sugar, said the yeast packet in warm water. It should be bubbling. (Photo by Charlotte Ekker Wiggins)

Dissolve yeast in water and 1 tablespoon sugar. If you don’t see bubbles within 5 minutes or so, the yeast is no longer active. Try another pack.

Scald milk. Add 1/2 cup sugar, salt and butter. Cool to lukewarm.

Add 2 cups flour and mix well.

Add yeast mixture and eggs, stir well.

Add enough flour as needed to make stiff dough. Knead on floured surface until no longer sticky.

Place in well greased blow. Turn to grease top. Cover and let ruse until double in size.

Surprisingly satisfactory to punch the dough. Cheap therapy. (Photo by Charlotte Ekker Wiggins)

Surprisingly satisfactory to punch the dough. Cheap therapy. (Photo by Charlotte Ekker Wiggins)

Punch down and divide in 2 parts. Roll each out in oblong shape. Brush with melted butter. Sprinkle with cinnamon and brown sugar. I made one part with brown sugar, the other with white sugar and cinnamon.

Roll up as for jelly roll.

This takes a little skill so as not to tear the dough. The key is to go slow. (Photo by Charlotte Ekker Wiggins)

This takes a little skill so as not to tear the dough. The key is to go slow. (Photo by Charlotte Ekker Wiggins)

Cut into one inch slices.

Yeast cinnamon roll slices ready to once again rise before baking. (Photo by Charlotte Ekker Wiggins)

Yeast cinnamon roll slices ready to once again rise before baking. (Photo by Charlotte Ekker Wiggins)

Place on well greased plan or cookie sheet. LET RISE UNTIL DOUBLE.

All ready for the pre heated oven! (Photo by Charlotte Ekker Wiggins)

All ready for the pre heated oven! (Photo by Charlotte Ekker Wiggins)


Bake at 375F for 15-20 minutes.

When cool, top with powdered sugar icing.Makes about 3 dozen rolls.

Aren’t these pretty just as they are? (Photo by Charlotte Ekker Wiggins)

Aren’t these pretty just as they are? (Photo by Charlotte Ekker Wiggins)

And because I made so many, I froze most of them individually. They freeze well and can easily be warmed in the microwave, possibly because of the wheat flour. They also easily fill you up as opposed to all white flour ones.

Nice recipe to add to a Write Your Own Cookbook gift set!

Charlotte


Baked Chicken with Onions

Baked chicken with onions and celery cooling off. (Photo by Charlotte Ekker Wiggins)

Baked chicken with onions and celery cooling off. (Photo by Charlotte Ekker Wiggins)

Baked Chicken with Onions

Here’s my disclaimer. i periodically make the same recipe twice; I tend more to adjust it every time I make it so be prepared for a number of possible variations. Which means this is a good basic baked chicken recipe you can make your own. And from personal experience, I suggest you write down the ingredient combinations as you try them or you may never be able to duplicate the recipe. Trust me.

On a positive note, I have been making this chicken recipe for several decades. As I vaguely recall, there was a Thanksgiving without a turkey so we baked a chicken instead. We started by adding yellow onions, celery and in this case, fresh rosemary, and a new favorite family dish was born.

Now you can make this a number of ways. I usually use yellow onions instead of red ones but I only currently had red onions. Both different kinds of onions work quite nicely, yellow onions are more savory than red. Celery is a staple but you can add other vegetables including potatoes, carrots and green beans. Sometimes I skip the fresh garlic, or double it, and I inevitably forget to add the salt. It still comes out delicious and quite versatile for the rest of the week.

And how nice the house smells when this is baking!

This can easily feed two people for lunch and dinner for a week. (Photo by Charlotte Ekker Wiggins)

This can easily feed two people for lunch and dinner for a week. (Photo by Charlotte Ekker Wiggins)

Baked Chicken with Onions

Basic Ingredients:

4 thigh and drumsticks (or 4 chicken breasts)

Cut up celery to taste (1-2 cups per dish)

1 medium onion, either yellow or red, per dish

1-2 garlic cloves to taste

1 tsp salt

2 cups water

Optional sprig of fresh rosemary

Optional white wine

Remove skin. On right, chicken separated but not necessary, it will fall off the bones once cooked. (Photo by Charlotte Ekker Wiggins)

Remove skin. On right, chicken separated but not necessary, it will fall off the bones once cooked. (Photo by Charlotte Ekker Wiggins)

To make:

Wash chicken and pat dry. Remove skin and all fat.

Place in baking dish.

You can add chicken stock and wine instead of water. (Photo by Charlotte Ekker Wiggins)

You can add chicken stock and wine instead of water. (Photo by Charlotte Ekker Wiggins)

Add chopped celery, onion and salt per dish. Pour in 2 cups water per dish.

Sprinkle with salt (and pepper) to taste.

Bake at 350F for about an hour or until cooked through.

Allow to cool.

Serve as is or debone and store chicken with vegetables for later meals. (Photo by Charlotte Ekker Wiggins)

Serve as is or debone and store chicken with vegetables for later meals. (Photo by Charlotte Ekker Wiggins)

Serve as is; if you need a quick chicken soup, pour the liquid into soup bowls and add some celery and cut up chicken.

I allow to cool and debone. You can serve chicken with celery and onions as a side dish.

If you want to use later, separate the chicken into single servings with onions and celery.

This cooked chicken will also work nicely mixed up with cooked rice.

Charlotte

Baked Apple Roses

Charming baked apple roses are a great way to welcome the new year. (Photo by Charlotte Ekker Wiggins)

Charming baked apple roses are a great way to welcome the new year. (Photo by Charlotte Ekker Wiggins)

Baked Apple Roses

These are so easy to make, they make any occasion special. I am making these to welcome the new year but you can make them any time of the year when you can find good apples.

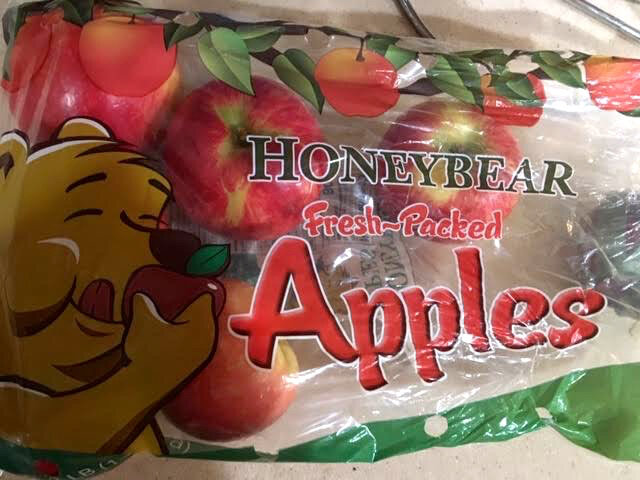
I have made these with a variety of apples; my current favorites are honey bears, not honey crisps, but pick any apple that’s your favorite. Something “crispier” and tart will hold up better under heat.

Honey Bear Apples are onlu available at Aldis where I live, (Photo by Charlotte Ekker Wiggins)

Honey Bear Apples are onlu available at Aldis where I live, (Photo by Charlotte Ekker Wiggins)

Baked Apple Roses Recipe

You Will Need:

6 apples

Apricot jam

Pie dough, either pre-made or make your own

Cinnamon

Cupcake tin

To Make:

I soak the cut up apple slices in lemon to keep them from browning. If you use the brand new Crimson Crisp apples that don’t brown for a year, you can skip this step.

I do this because I often get sidetracked.

rose apple pieces in water.jpg

Once apple slices are blotted to dry, cut the pie crust into long 3-inch strips.

Cover with apricot jam. This year I have an appricot and raspberry jam to try.

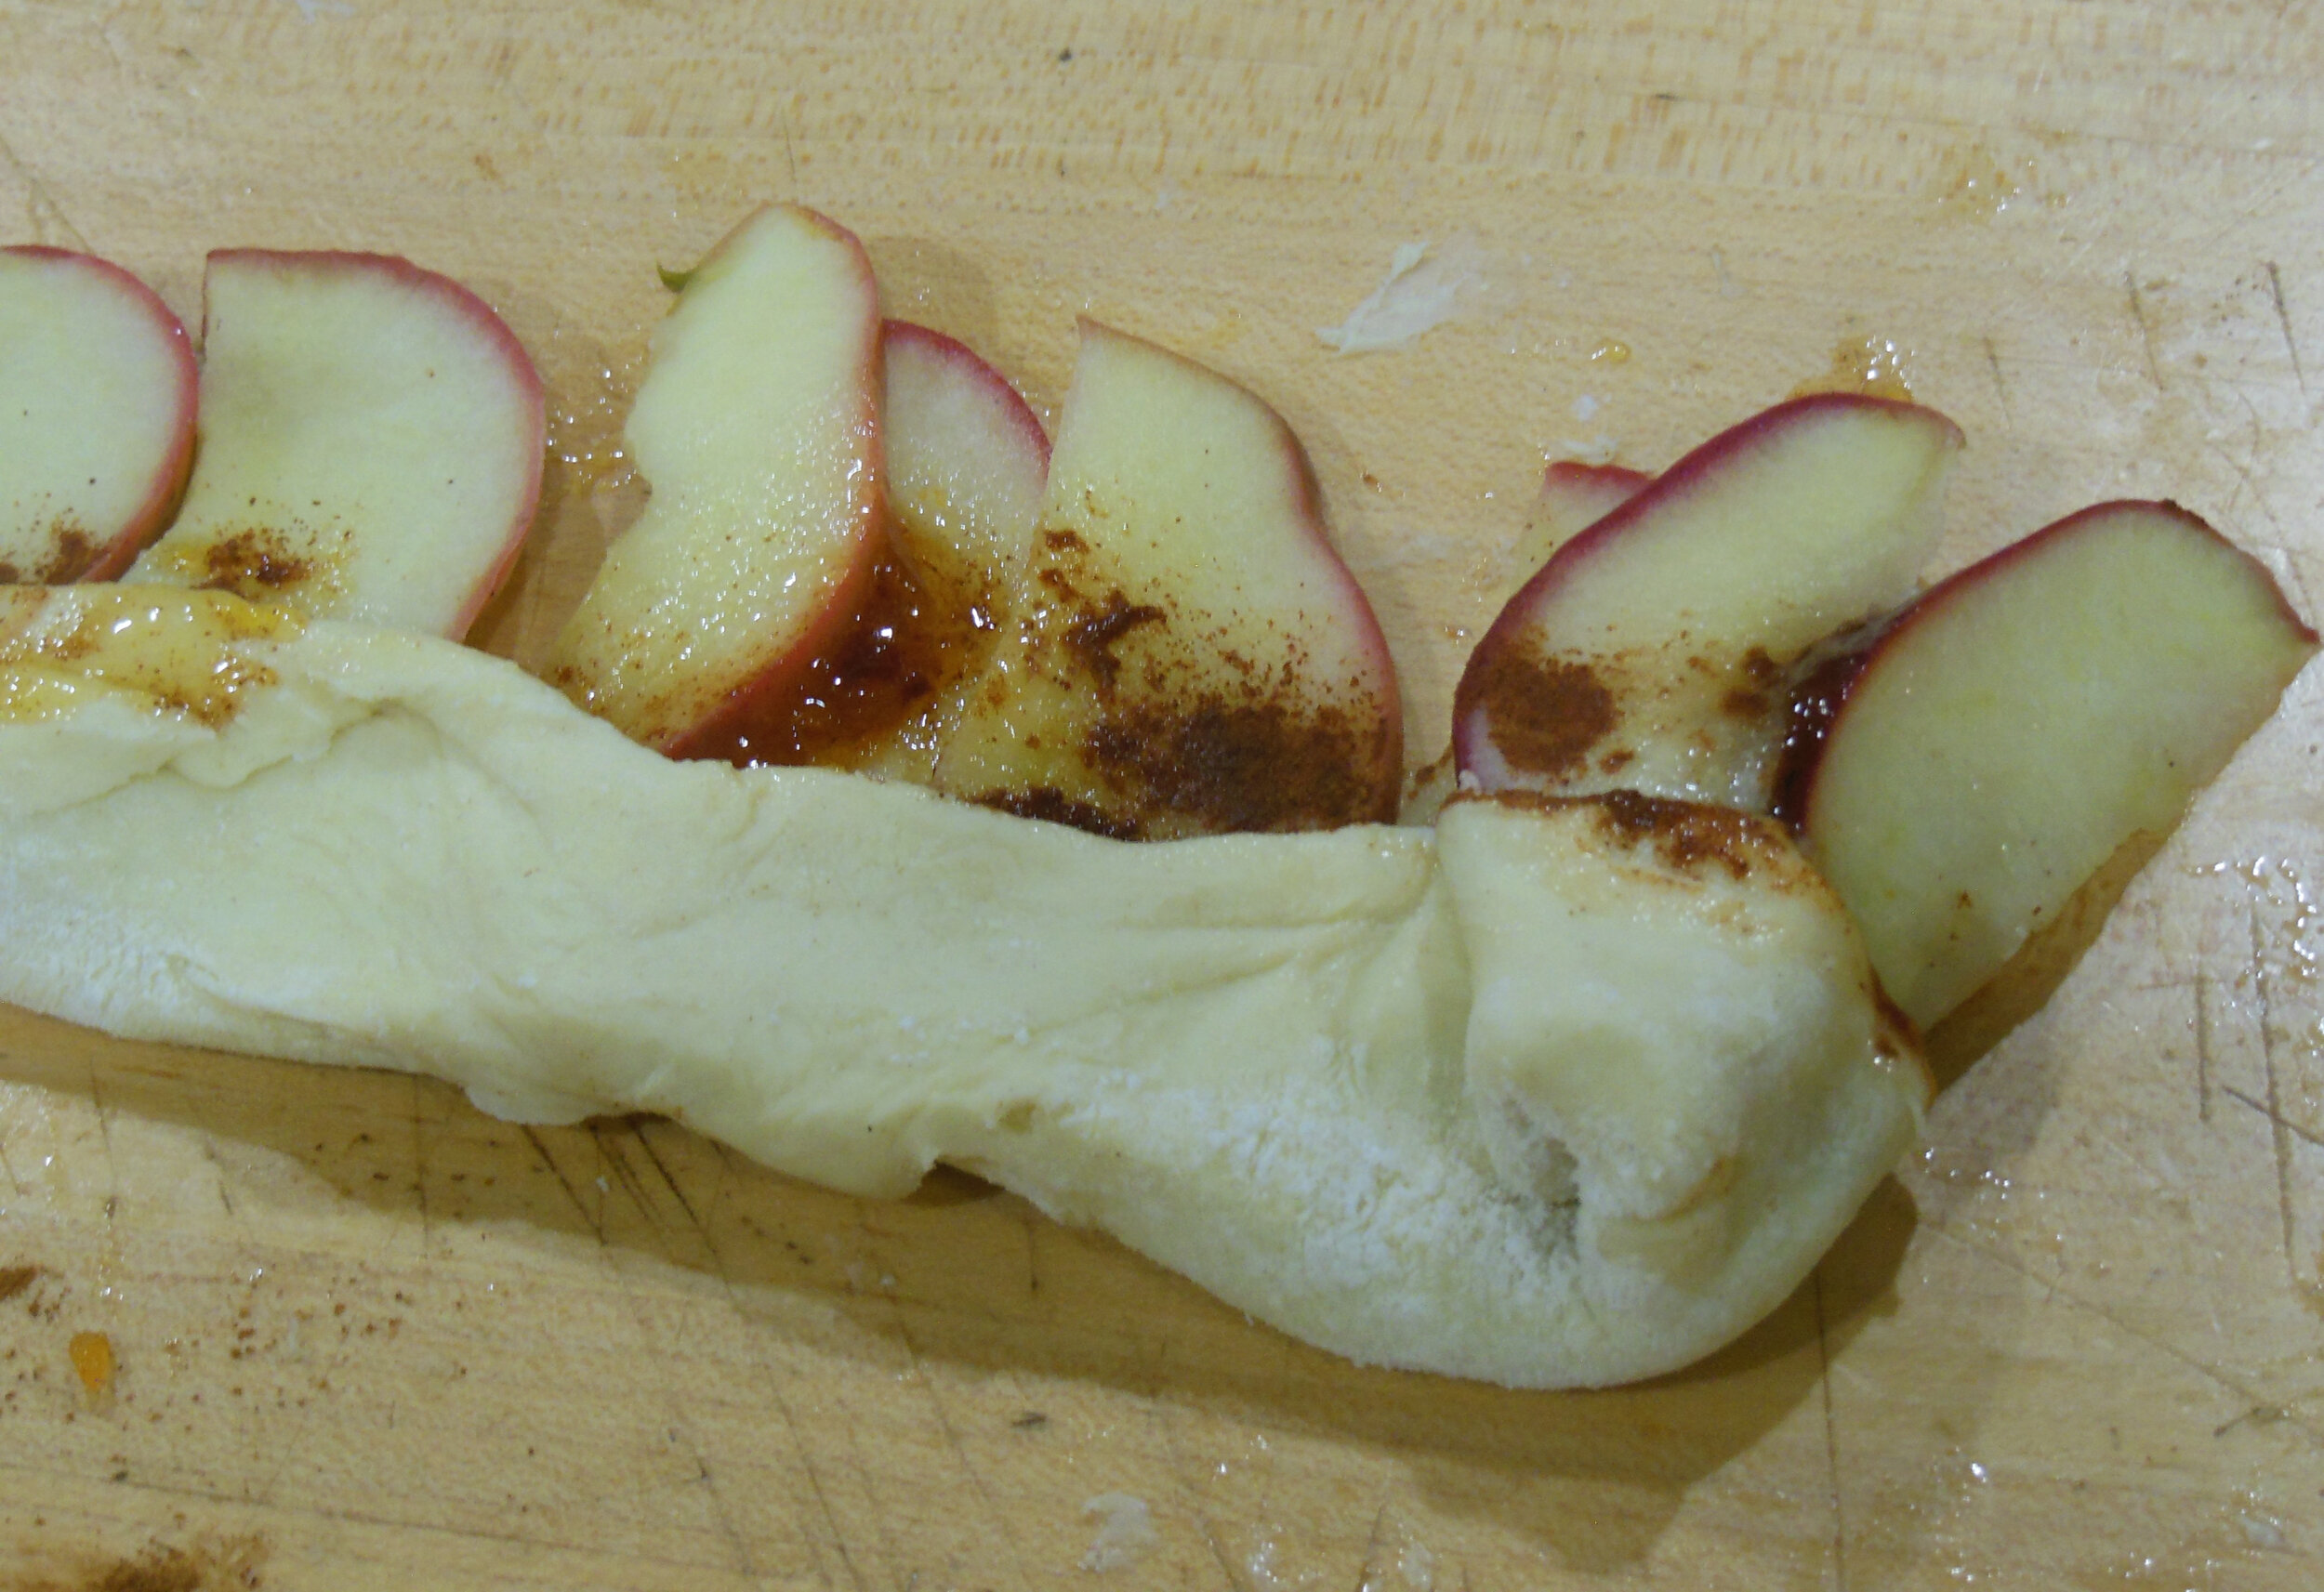
Line up the apple slices in the middle of the pie dough; sprinkle with cinnamon to taste.

rose apples apricot jame.jpg

Cover apple slices with the other pie dough half.

Once rolled up, place the apple slices in pie dough in a cupcake tin lined with butter.

rose apples rolled up.jpg

Bake for 10 minutes in 350F oven until pie dough is baked.

rose apples close.jpg

Serve as is or you can add a dolop of whipped cream or better yet, drizzle with honey.

If you want to give this recipe, pick out our Bless This House Lap Quilt featuring apples and a clear window where you can tuck in the recipe.

Happy New Year!

Charlotte

Christmas Sugar Cookies

Some of the finished decorated Christmas cookies, some are works of art! (Photo by Charlotte Ekker Wiggins)

Some of the finished decorated Christmas cookies, some are works of art! (Photo by Charlotte Ekker Wiggins)

Christmas Sugar Cookies

I was trying to remember how many years I have been making Christmas sugar cookies; it definitely goes back to when I had single digits for my age.

When we were growing up in South America, we made sugar cookies to leave for Santa and the reindeer. Dad got some as well. As I recall, sugar cookies were one of his favorites.

As a big sister to three siblings, we also made sugar cookies over the holidays as gifts for friends as well as to enjoy. They came in especially handy as we were setting up the huge model railroad train layout under and around the Christmas tree. They were also a favorite breakfast Christmas morning.

During my married years, sugar cookies were made for gift baskets we gave away to coaches, teachers, friends - whoever made our year special. We also made gingerbread cookies over the years, making good use of the cookie cutter collection I still use. I hear my step kids continue this tradition with their kids.

Now Mary, my sister-in-law in Minnesota, made my cookie making pale compared to hers. She baked cookies every month for her church, and when it came to Christmas. Well, let’s just say it was an impressive assembly line.

I was able to snag her recipe the year before I gave everyone in the family a handmade recipe book. Not a small feat because this is not any sugar cookie recipe, this is “Grandma Green’s Sugar Cookies recipe. What makes it special, besides coming from Grandma? Unlike most other sugar cookie recipes, this one is not too sweet, making it a nice back drop for adding icing.

It is also a generous recipe so you may want to cut it in half if you just want a couple dozen.

Mary’s Grandma Green’s Sugar Cookies Recipe

Ingredients:

2 1/2 cups sugar

1 cup shortening

1 teaspoon soda

1 cup sour cream or milk

2 teaspoons lemon extract

2 teaspoons baking powder

3 well-beaten eggs

6 cups flour

To Make:

Cream shortening and sugar. Sift dry ingredients together and set aside. Add milk, flavorings and eggs to shortening/sugar. Add flour. Mix well. Drop or roll out and cut with cookie cutters. Decorate with decorative sugar, raisins or other bake-able additions. Bake at 350F for 8-10 minutes.

After cooled, these sugar cookies are ready for decorating. And sampling. I truly believe any baked goods need to be carefully and deliberately sampled. Quality control. Reindeer can be very picky!

This is the sugar cookie assembly line I walked into the last time I was in Minnesota for Christmas:

The dining room table is full of sugar cookie icings and decorations. (Photo by Charlotte Ekker Wiggins)

The dining room table is full of sugar cookie icings and decorations. (Photo by Charlotte Ekker Wiggins)

There were four people at work when I walked in. My brother Steve joined us at some point, which means the cookie decorating took on a whole new meaning. Besides the decidedly orange “Ilini” theme, some of the cookies turned into spaceships and amoeba. That’s what you get when you have a geneticist being creative with sugar cookies.

Mine had a cat theme, as I recall. The tails kept disappearing on my brother’s side of the table so mine were deemed only for family consumption.

There was a lot of talking and laughing, and even Michael and Rachel stopped arguing long enough to agree on cookie icing colors.

Nephew Michael and Niece Rachel were very particular about cookie icing colors. (Photo by Charlotte Ekker Wiggins)

Nephew Michael and Niece Rachel were very particular about cookie icing colors. (Photo by Charlotte Ekker Wiggins)

Michael is now engaged living in a warmer climate; Rachel has just graduated from college and plans to see Michael over the holidays.

You can take this recipe, add a few favorite cookie cutters and edible decorations, and make a nice Christmas gift for that baker on your gift list. We have one for gingerbread cookies.

I hope Michael and Rachel have time to make at least one batch of Christmas sugar cookies when they are together. It’s a delicious way to bake new memories!

Charlotte

Jack O Lantern Pumpkin Pie

Jack O Lantern Pumpkin Pie filing served as a desert with a drizzle of honey. (Photo by Charlotte Ekker Wiggins)

Jack O Lantern Pumpkin Pie filing served as a desert with a drizzle of honey. (Photo by Charlotte Ekker Wiggins)

Jack O Lantern Pumpkin Pie Recipe

Actually this is a basic pumpkin pie recipe you can use with a variety of pumpkins, I have tried it with all of the following:

Canned pumpkin, which is a mix of pumpkin and squash. The traditional pumpkin pie.

Cushaw pumpkin, the original native North American pumpkin most likely served at the first Thanksgivings between the Native American Indians and European settlers. More of a light custard-kind of filing.

Baking pumpkins, which have a more dense consistency compared to

Jack O Lantern pumpkins, which is lighter than baking pumpkins and also can be baked and turned into a pumpkin pie or desert. I’m pretty sure these are Jack O Lantern pumpkins in this Four Seasons Lap Quilt and Wall Hanging, don’t you think?

Baking the Pumpkins

Regardless of what kind of pumpkin you use, wash it; cut open; remove seeds; fill with water and bake at 325F until you can prick it with a fork.

Allow to cool. Remove the inside pulp. I saved mine in 13 ounce servings in a jar in the refrigerator. Or you can freeze in similar quantities for easy use later.

Basic Pumpkin Pie Recipe

2 eggs, slightly beaten

16 oz. pumpkin

3/4 cup sugar

1/2 teaspoon salt

1 teaspoon cinnamon

1/2 teaspoon ginger

1/4 teaspoon gloves

1 2/3 cups (13 fluid ounces) evaporated milk or light cream

To make: Mix the ingredients in the order listed. I use my beater on low speed.

This is baked and blended Jack O Lantern pumpkin getting mixed in the traditional pie recipe. (Photo by Charlotte Ekker Wiggins)

This is baked and blended Jack O Lantern pumpkin getting mixed in the traditional pie recipe. (Photo by Charlotte Ekker Wiggins)

You can pour into a 9” unbaked pie shell with a high fluted edge - the filing will rise a little. I bake mine in bread pans.

If in a pie shell, bake in preheated 425F oven for 15 minutes, then reduce temperature to 350F and bake for another 45 minutes or until a knife inserted in center of pie filing comes out clean. Cool. Garnish with whipped cream and serve.

If you are baking just the pie filing, bake at 325F for 45 minutes or until a toothpick in the center comes out clean.

I bake the pumpkin filling in bread pans without a pie crust. (Photo by Charlotte Ekker Wiggins)

I bake the pumpkin filling in bread pans without a pie crust. (Photo by Charlotte Ekker Wiggins)

I fill my bread pans half full. You can fill it fuller but it may take longer to cook all of the way through.

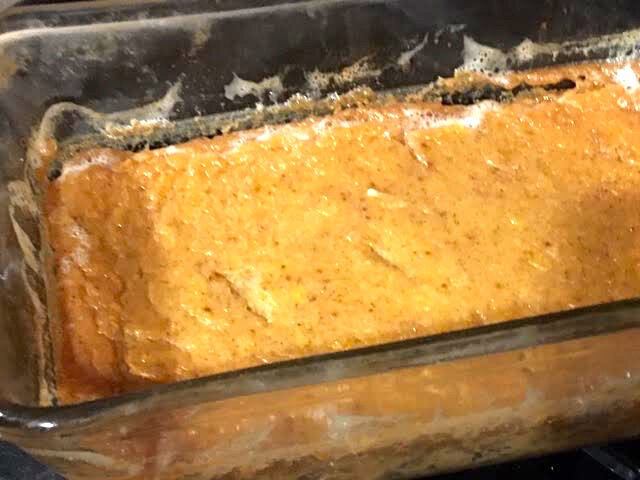
This is the baked Jack O Lantern Pumpkin pie filing cooling off. (Photo by Charlotte Ekker Wiggins)

This is the baked Jack O Lantern Pumpkin pie filing cooling off. (Photo by Charlotte Ekker Wiggins)

So the question most people ask, what does it taste like?

Jack O Lantern Pumpkin pie tastes like - well, pumpkin pie. A lighter, more custardy version than the canned version that is in even better cold the second day.

The baking pumpkin has a little more body to the baked pumpkin filing but not much difference otherwise.

The Cushaw pumpkin pie is lighter than both so I tend to add a few more seasonings.

All are delicious and make both a great desert and, my brothers favorite, next day breakfast. If there is any left!

Charlotte

Sugarless Pancakes

Taste tested, these sugarless pancakes made the cut! (Photo by Charlotte Ekker Wiggins)

Taste tested, these sugarless pancakes made the cut! (Photo by Charlotte Ekker Wiggins)

Sugarless Pancakes

We grew up making pancakes. And not just for breakfast. For several years, they were the staple of Sunday nights with friends. Then when my brothers were in college, I would visit my Mom’s house just in time to whip up several batches for hollow-legged young men staying overnight. The Astronomy club members were a personal favorite, they walked around looking up and missed seeing any messes below.

I was looking for a basic recipe without sugar and found this one. It originally had 1 tablespoon of sugar in the original recipe so I tried it without sugar and liked it.

Easy to make, and even easier to make a second dry ingredient batch in glass jars and save it for later use. Just like the brownie recipe. It’s how to make your own “boxed” ingredients for your own use and for gifts if you remember to add the wet ingredients on a label on the lid.

I’m also a fan of the gifts in bags from homegrown herbs and other plants, there is no substitute buying them from a store.

Basic Sugarless Pancakes

Start with 1 1/2 cups all-purpose flour. If you want to play with this recipe you could substitute half with wheat flour or almond flour.

  • 1 1/2 cups flour

  • 3 1/2 teaspoons baking powder

  • 1 teaspoon salt

  • 1 1/4 cups milk

  • 1 egg

  • 3 tablespoons butter, melted

To make:

In a large bowl, sift together the flour, baking powder, salt and sugar. Make a well in the center and pour in the milk, egg and melted butter; mix until smooth.

Pour globs into a pre-heated, medium high pan with shortening or butter. I use shortening.

Turn when bubbles appear.

Bubbles are the sign to flip the pancakes to cook on the other side. (Photo by Charlotte Ekker Wiggins)

Bubbles are the sign to flip the pancakes to cook on the other side. (Photo by Charlotte Ekker Wiggins)

If the pan is not evenly-heated, the pancakes will initially look uncooked. Once turned, check by making a small cut on the pancake edge to ensure it’s cooked all the way through.

Brown on both sides.

Serve hot with maple syrup or better yet, fresh honey.

Once cooked, keep pancakes on paper towel to absorb cooking oil. (Photo by Charlotte Ekker Wiggins)

Once cooked, keep pancakes on paper towel to absorb cooking oil. (Photo by Charlotte Ekker Wiggins)

When I have extras, I freeze them individually then store in a plastic bag for later re-heating.

These hold up well frozen.

Charlotte


Chicory Coffee

Cleaned and ground chicory roots add a chocolate flavor to traditional coffee. (Photo by Charlotte Ekker Wiggins)

Cleaned and ground chicory roots add a chocolate flavor to traditional coffee. (Photo by Charlotte Ekker Wiggins)

Chicory Coffee 

It was a staple during World War II when coffee beans were not available. I used to assume chicory coffee would be something campers would make when cooking out in the woods. Now chicory coffee is offered in some upscale coffee bars and as a specialty brew.

We can all make chicory coffee at home with a few precautions about where we collect the plants, which are herbs and wonderful pollinator plants.

Chicory Coffee Recipe

Courtesy of Lee Allen Peterson’s  Field Guide to Edible Wild Plants

Harvest chicory from a chemical free area. Wash; dry roots.

Roast in oven until dark brown and brittle. Grind as you would coffee beans. 

Use roughly 1 ½ tsps. ground chicory root for every cup of water.

I had my first taste of chicory coffee when I was in New Orleans where I was told beignets go hand in hand with a cup of chicory coffee.  Who was I to argue?

Charlotte

Double Duty Brownie Mix

One of the extra moist brownies makes a nice simple dessert. (Photo by Charlotte Ekker Wiggins)

One of the extra moist brownies makes a nice simple dessert. (Photo by Charlotte Ekker Wiggins)

Double Duty Brownie Mix Recipe

There are several good reasons to add this little brownie recipe to your recipe collection.

First, in less than 5 minutes you can make several batches of the dry ingredients to store for later use. This is how I used to use this recipe; having pre-made brownie mixes in jars that I could quickly mix up and bake.

Secondly, these also make nice little gifts when you add the wet ingredients on a card or label. I write it on the lid.

Brownie Mix Recipe

Add 2 eggs

1/2 cup vegetable oil

1 tsp vanilla.

Bake at 350F for 20-25 minutes. Remove from oven; allow to cool.

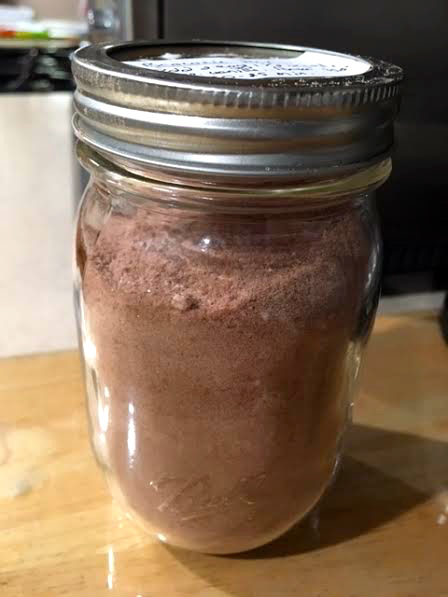
My handwritten label on top of one of my jars of homemade brownie mix. (Photo by Charlotte Ekker Wiggins)

My handwritten label on top of one of my jars of homemade brownie mix. (Photo by Charlotte Ekker Wiggins)

See how pretty this could be with a ribbon and gift card?

Friends who have received this in the past have commented at how easy, and delicious, this was to use.

You can make this with special dark chocolate if you want to ramp it up, this is basically a classic American cuisine recipe.

One homemade brownie mix batch ready for wet ingredients. (Photo by Charlotte Ekker Wiggins)

One homemade brownie mix batch ready for wet ingredients. (Photo by Charlotte Ekker Wiggins)

Now if you took a close look at my hand writing on the label, you will know how I came up with this second version of this recipe. Instead of the original 1/2 cup of vegetable oil, I misread the label and made this with 1 cup of vegetable oil, doubling the original recipe.

If you want to make them into little chocolate pies, use 3/14 cup vegetable oil.

I like to bake brownies in cupcake pans, which makes them easier to have in single servings.

This is how the additional vegetable oil changes the brownies, into extra moist brownies with a depressed center.

These are the brownies made with 3/4 cup vegetable oil. (Photo by Charlotte Ekker Wiggins)

These are the brownies made with 3/4 cup vegetable oil. (Photo by Charlotte Ekker Wiggins)

I ended up with these tiny pie-looking cupcakes where I can add cut up fresh fruit in the center. Strawberries are my favorites but most berries will work; raspberries are another delicious combination. For the photo I added blueberries.

If you don’t have fruit, serve it with whipped topping or vanilla ice cream.

You can also easily freeze these for later use.

It’s an easy little dessert to dress up for a nice treat at the end of your meal and you can make both from the same brownie mix!

Charlotte

Versatile Butter Cookies Recipe

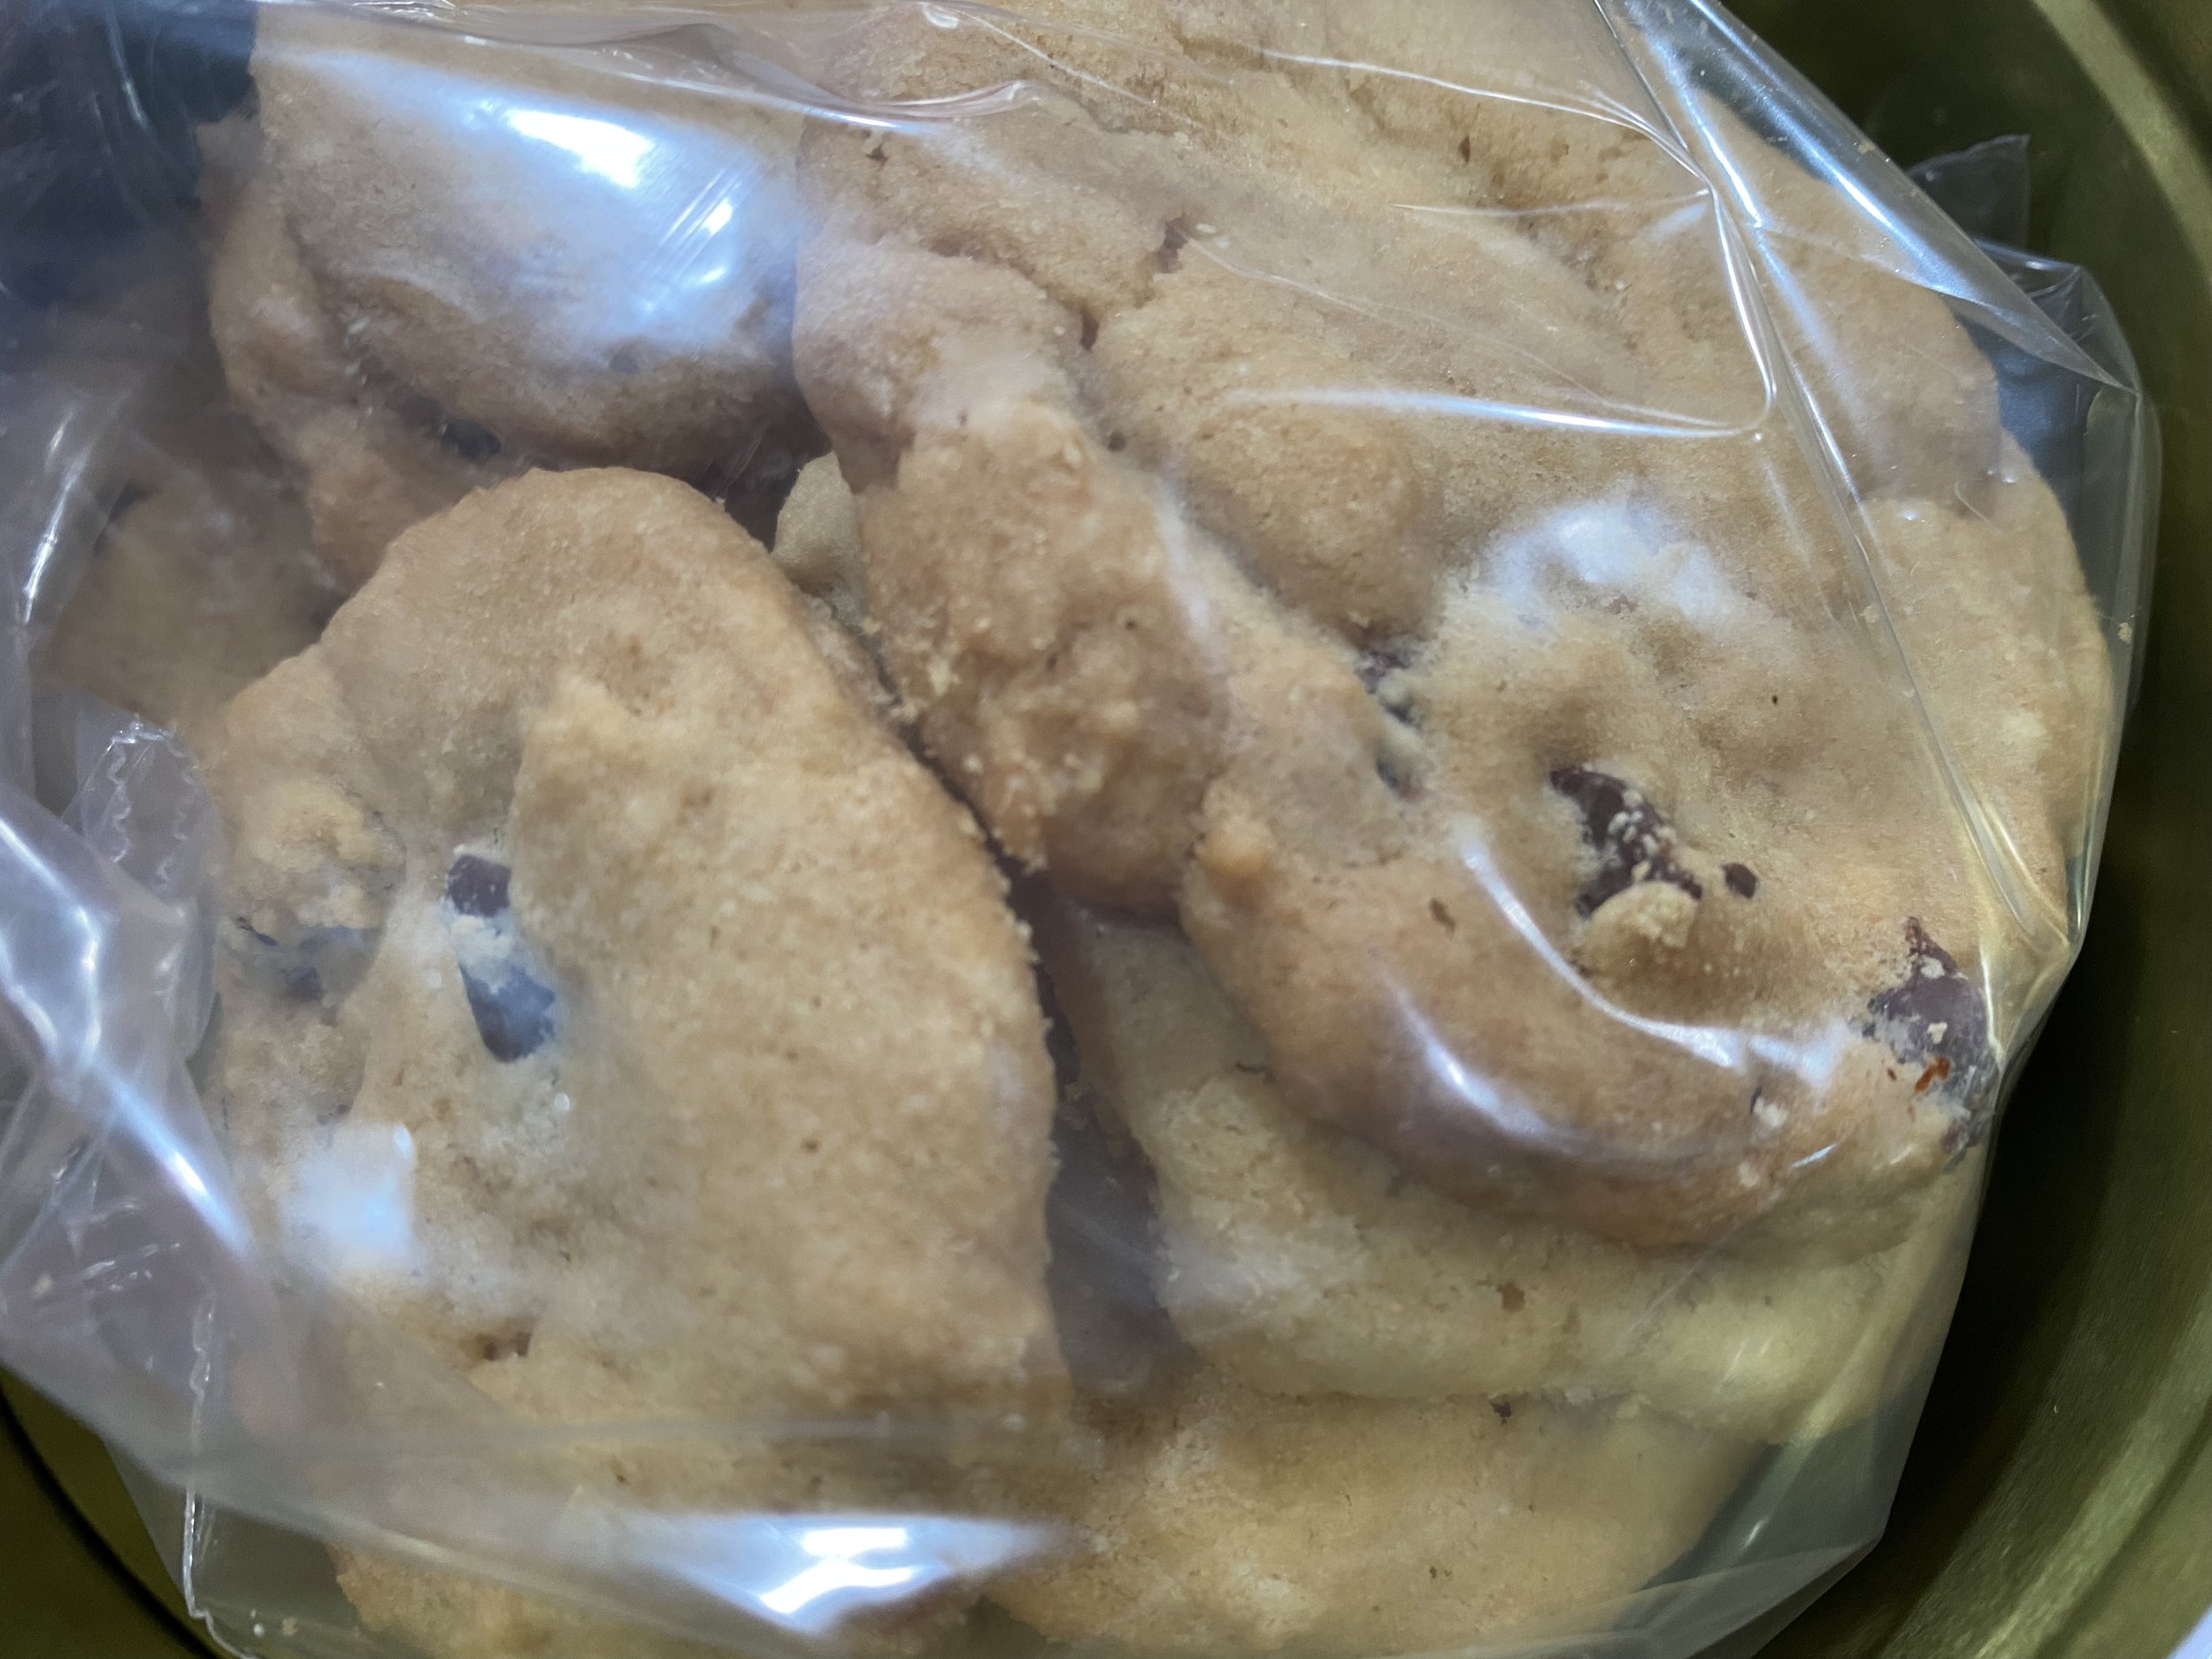
Stacking cookies in the tin almost doubles the amount you can include. (Photo by Charlotte Ekker Wiggins)

Stacking cookies in the tin almost doubles the amount you can include. (Photo by Charlotte Ekker Wiggins)

Versatile Butter Cookies Recipe

Whenever my gardening friend Tom helps me in my garden, I know exactly how to thank him. He loves these butter cookies rolled out as thin as possible without any embellishments. The last time I gave him a tin he said he enjoys a couple at the end of the day with a cup of coffee, out of his mother’s lovely floral hand painted ceramic cup he once brought over to my house. I do have dibs on that cup if he ever tires of it!

So when a truckload of horse manure found its way next to the mulch piles he brought me last year, I knew it was time to dust off this recipe.

Only one problem.

When I made these last year, it was before my cataract surgery so I must have misread the ingredients, particularly the amount of flour. Now that I have better eyesight, I followed the recipe exactly and had to toss out the first batch, it was much too thick to even roll out. I suspect I was a little too free with the flour measuring so it’s not the recipe’s fault!

I have a tendency to throw things together and then try to remember what I did later when it works out well so this was no surprise. What was challenging was trying to find the right flour amounts to keep these butter cookies thin and crispy.

Hummm, this just reminded me of a Christmas sugar cookie discussion about whether people like their Christmas sugar cookies thick or thin. It is almost a matter of principle.

Oh, and no surprise that I made a couple other adjustments to this recipe, right? I will list your options so you can try these out and find the one you like.

These are buttery but not sweet so if you want to decorate with icing, sugar sprinkles or a simple glaze those will not overwhelm the cookie.

These basic recipes are out of my mother’s Betty Crocker cookbook. They are also available in American Cooking Illustrated Encyclopaedia, the closest cookbook I have found to the tried and true Betty Crocker versions.

Pick up tin cans in summer to repurpose for cookie giving the rest of the year. (Photo by Charlotte Ekker Wiggins)

Pick up tin cans in summer to repurpose for cookie giving the rest of the year. (Photo by Charlotte Ekker Wiggins)

Basic Butter Cookies Recipe

Beat until creamy:

1 cup soft butter

1/2 cup sugar

1 egg

Stir in 3 teaspoons flavoring (vanilla, lemon, almond, chocolate and so forth)

Sift together and stir in

3 cups flour

1/2 tsp baking powder

Chill dough. Roll very thin. Cut into desired shapes. Place on ungreased cooking sheet.

Bake at 425F until delicately browned.

Makes abut 7 dozen 2” cookies.

Charlotte’s Butter Cookies Recipe Revised

If you like your cookies thicker, keep the 3 cups of flour but I preferred 2.5 cups. Make sure the butter and flour are well mixed before chilling. Chilling well made it easy to roll the dough as thin as I wanted it.

If you want something less buttery, substitute vegetable shortening and increase the flavoring to 4 teaspoons.

To glaze, brush mixture of 1 egg yolk and 2 tablespoons of water over top.

You can also easily add sprinkles before cooking.

Allow to cool completely before icing.

Easily turn a cookie cutter into a gift box bow using a small ribbon. (Photo by Charlotte Ekker Wiggins)

Easily turn a cookie cutter into a gift box bow using a small ribbon. (Photo by Charlotte Ekker Wiggins)

Nice Gift Idea

These butter cookies, by the way, are a nice little gift for a variety of occasions. Tie them to a theme using cookie cutters.

You can also make them into a gift by using a theme cookie cutter and adding the recipe with the cookie cutter tied with a nice bow.

I suppose you could just give the cookie cutter with the recipe, too, but make a batch, that way you can enjoy a few yourself and the recipient will be enticed to make their own.

Charlotte

Updated Cucumber Onion Salad

Today’s cucumber, red onion and vinegar summer salad. (Photo by Charlotte Ekker Wiggins)

Today’s cucumber, red onion and vinegar summer salad. (Photo by Charlotte Ekker Wiggins)

Updated Cucumber Onion Salad Recipe

Here is the old, traditional cucumber onion salad recipe I found a couple of years ago:

1 cup apple cider vinegar

3/4 cup sugar

1/2 cup water

Mix in a pan and bring to a boil. Allow to cool. Pour over sliced cucumbers and onions; allow to marinade overnight.

New Cucumber Onion Salad Options

Since I shared that recipe, I have tried several configurations, starting with not boiling the mixture and deleting sugar. Now I splash equal parts vinegar and water, enough to cover the cucumber slices and onions, and allow to marinate overnight.

Another option is to cut the sugar amount in half, especially if the cucumbers are more on the sweet side.

This is best the second day.

You can also reuse the vinegar water mixture and make a second batch. It will be not as strong the second time around but when time is short and you still want a fresh summer salad it works well!

And wouldn’t my Bunny Days of the Week Kitchen Towels go well with this salad, especially since I remember my niece Rachel, who loved cucumbers as a child, getting indignant when she found rabbits munching on her favorite vegetables.

Charlotte

Watermelon Juice Recipe

Fresh blended cold watermelon into juice form is the taste of summer. (Photo by Charlotte Ekker Wiggins)

Fresh blended cold watermelon into juice form is the taste of summer. (Photo by Charlotte Ekker Wiggins)

Watermelon Juice Recipe

What does summer mean to you - summer sports games, traveling, reading? If you want to make something summer refreshing that is unusual and easy, make watermelon juice.

A popular offering in Brazil along beaches, watermelon juice is an easy and fun way to enjoy a naturally-sweet refreshing summer drink.

To make, remove the watermelon pulp in easy to manage sizes. I use a melon baller to core my watermelons, that gives me the option to easily add other fruits for a quick fruit salad as well as make watermelon juice.

Cold watermelon pieces and a blender is all it takes. (Photo by Charlotte Ekker Wiggins)

Cold watermelon pieces and a blender is all it takes. (Photo by Charlotte Ekker Wiggins)

Don’t forget to taste test your watermelon, you want something that has a nice flavor to it and you can better decide what else to add.

Once cored, place the watermelon pieces in a blender. If your watermelon is too sweet, add a dash of lemon juice.

If you like to eat your watermelon with salt, add a dash of salt.

If you want a cold watermelon juice, add ice.

Blend.

The shredded watermelon pulp will rise to the top but not have any body to it. It will give the watermelon juice drink a frothy top and a clear juice bottom.

Add a sprig of fresh spearmint to finish off the drink. (Photo by Charlotte Ekker Wiggins)

Add a sprig of fresh spearmint to finish off the drink. (Photo by Charlotte Ekker Wiggins)

To serve, I add a spring of fresh spearmint from my garden. You can also use other herbs to taste; peppermint and lemon balm would also work.

Enjoy and happy summer!

Charlotte

Basic Homemade Biscuits

Basic homemade biscuits cooling off on cookie rack. (Photo by Charlotte Ekker Wiggins)

Basic homemade biscuits cooling off on cookie rack. (Photo by Charlotte Ekker Wiggins)

Basic Homemade Biscuits

This is one of those must have basic recipes that takes less than 5 minutes to make and, once baked, can be frozen for later use.

I like these in winter but I keep a supply handy in the freezer all year for visitors who want to share a cup of tea with really fresh honey and strawberry jam.

Basic Homemade Biscuit Recipe

Sift together:

2 cups all purpose flour

3 tsp baking powder

1 tsp salt

Add 1/4 cup shortening and use two knives to cut it into small pieces.

Add 3/4 cup milk.

Mix gently, then roll out onto floured board. Cut into 3/4” biscuits.

Bake at 400F for 8-10 minutes until golden brown.

Allow to cool on cookie rack.

To freeze, I place the biscuits on cookie rack in freezer. (Photo by Charlotte Ekker Wiggins)

To freeze, I place the biscuits on cookie rack in freezer. (Photo by Charlotte Ekker Wiggins)

Place cookie rack in freezer to individually freeze biscuits. Store in freezer bag.

To defrost, place in microwave for 30 seconds or allow to defrost at room temperature.

You can turn these biscuits into breakfast if you like gravy, or make your own breakfast sandwich with an omelet or scrambled eggs.

Or so I hear. I haven’t moved past adding honey from my apiary or strawberry jam from our local farmer’s market.

These basic recipes are the foundation of cooking. You will find others in our American Cooking Illustrated Encyclopaedia.

Maybe I will get adventurous this winter.

Charlotte


Levee High Apple Pie Recipe

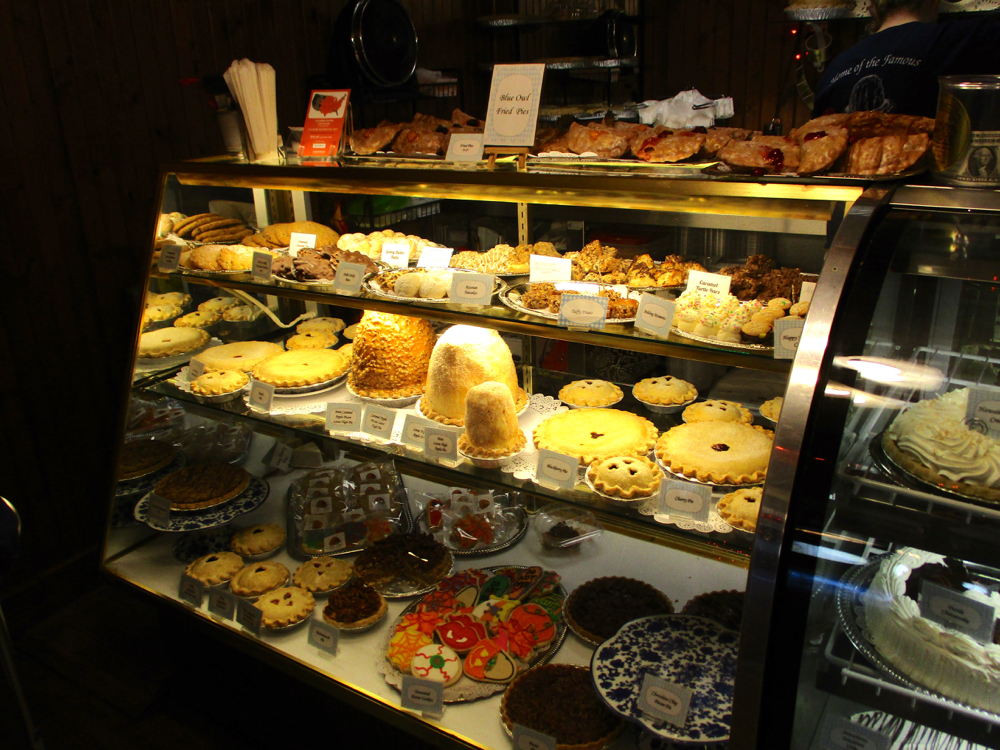
Blue Owl Bakery in Kimmswick, Mo., home of levee high apple pie. (Photo by Charlotte Ekker Wiggins)

Blue Owl Bakery in Kimmswick, Mo., home of levee high apple pie. (Photo by Charlotte Ekker Wiggins)

Levee High Apple Pie Recipe

Is there a better combination than Mom and apple pie?

We’ve had a wet spring this year lately, wet enough for the forecasters to start comparing current river and levee levels to previous record-holding years. One community hard hit with flooding is Kimmswick, Mo., a self-made small tourist spot near St. Louis.

Typical of an adventure, what I thought I would enjoy turned out to be the least fascinating part about the visit, which included a stop at the Blue Owl Restaurant, known for its levee high apple pies.

Can you spot the levee high apple pie? (Photo by Charlotte Ekker Wiggins)

Can you spot the levee high apple pie? (Photo by Charlotte Ekker Wiggins)

The apple pies were designed to celebrate the levee that keeps the town from getting flooded. The unique aspect of this well-known apple pie is the pie shape.

Closer look at the shape of levee high apple pies. (Photo by Charlotte Ekker Wiggins)

Closer look at the shape of levee high apple pies. (Photo by Charlotte Ekker Wiggins)

When I asked the waitress how they make it, she said it was a secret so I checked around to find the recipe.

Before trying to make it, though, I decided to taste test the real thing.

The caramel cover to levee high apple pie. (Photo by Charlotte Ekker Wiggins)

The caramel cover to levee high apple pie. (Photo by Charlotte Ekker Wiggins)

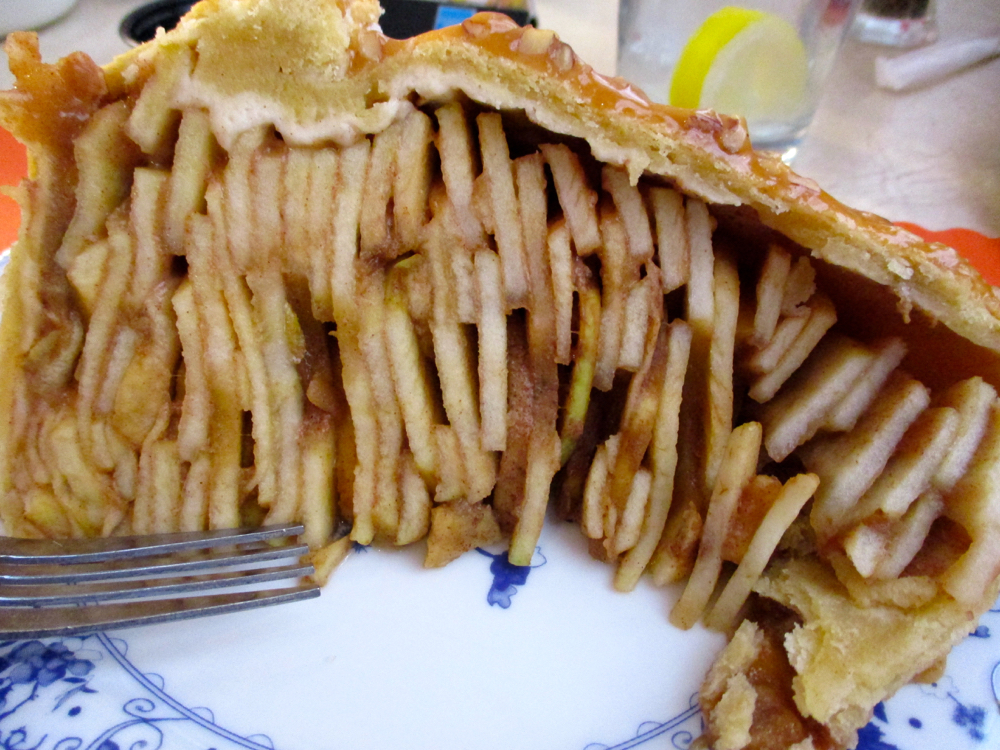
The caramel coating was delicious but what fascinated me was how the apples were added as the pie filing.

How the applies are piled high for levee high apple pie. (Photo by Charlotte Ekker Wiggins)

How the applies are piled high for levee high apple pie. (Photo by Charlotte Ekker Wiggins)

Levee High Apple Pie, The Blue Owl Restaurant Bakery, Kimmswick

Author: From Let’s Do Lunch, a cookbook from The Blue Owl Restaurant and Bakery

Recipe type: Pie

Cuisine: American

Prep time:  45 mins

Cook time:  1 hour 15 mins

Total time:  2 hours

Serves: 8 slices

A storied and award-winning apple pie.

Ingredients

  • 2 deep-dish unbaked pie crusts

  • Filling

  • 12 cups (14-16 apples) of peeled and thinly sliced Granny Smith apples

  • 1 cup sugar

  • ¼ cup flour

  • 2tsp cinnamon

  • Dash of salt

  • 1 Tablespoon butter

  • 1 Tablespoon sugar

  • ¼ cup milk

  • Topping

  • 1 ½ cups melted caramels (21 oz).

  • ½ cup chopped pecans

  • 2 Tbsp evaporated milk

Instructions

  1. For the Filling

  2. Combine apples, sugar, flour cinnamon, and salt. Mound filling by hand or use a small, deep mixing bowl for a mold. Invert the filling into the bottom crust and dot with butter. Cover mounded filling with top crust. Moisten, seal and flute edges tightly. Brush top crust with a small amount of milk and sugar mixed together. Prick crust to allow steam to vent. Bake at 450 degrees for 15 minutes, then reduce heat to 350 degrees and bake for 1 hour or until the crust is golden brown.

  3. For the topping

  4. Melt caramels in the microwave. Add evaporated milk and stir until smooth. Add chopped pecans and stir. Spread over pie starting at the base and working up.

The Blue Owl Restaurant sign at Kimmswick, Missouri. (Photo by Charlotte Ekker Wiggins)

The Blue Owl Restaurant sign at Kimmswick, Missouri. (Photo by Charlotte Ekker Wiggins)

I tend to make pies without pie crusts but in this case, I think a pie crust will come in handy to hold all of those sliced apples together!

Charlotte

Easy Pea Salad Recipe

I added yellow and red onions to this easy pea salad. (Photo by Charlotte Ekker Wiggins)

I added yellow and red onions to this easy pea salad. (Photo by Charlotte Ekker Wiggins)

Easy Pea Salad Recipe

This is one of those quick and easy recipes that should be in the American Cooking Encyclopedia, it comes in handy for a variety of occasions. I have used this is as both a main salad as well as a side dish, both cold and warm. It’s best cold for a summer dish and warm for a winter side dish.

You can alter the ingredients to taste. I tend to add more celery and onions.

I also like that it takes only a small amount of mayonnaise to bring all ingredients together.

If I have a choice, I would let this sit overnight so the flavors marinate.

To mak

1 can drained peas

1 shelled hard boiled egg

1/2 cup chopped fresh celery

1/4 cup chopped yellow and/or red onions

1 tbsp mayonnaise

salt to taste

To make: Mix together. You can add a second egg if you want more egg and a dash of milk if you want more coating on the peas.

Cover and allow to marinate for a couple of hours or overnight for the cold version.

Serve immediately if you want it served warm.

Charlotte